If it will let me post more than one.
1 Like
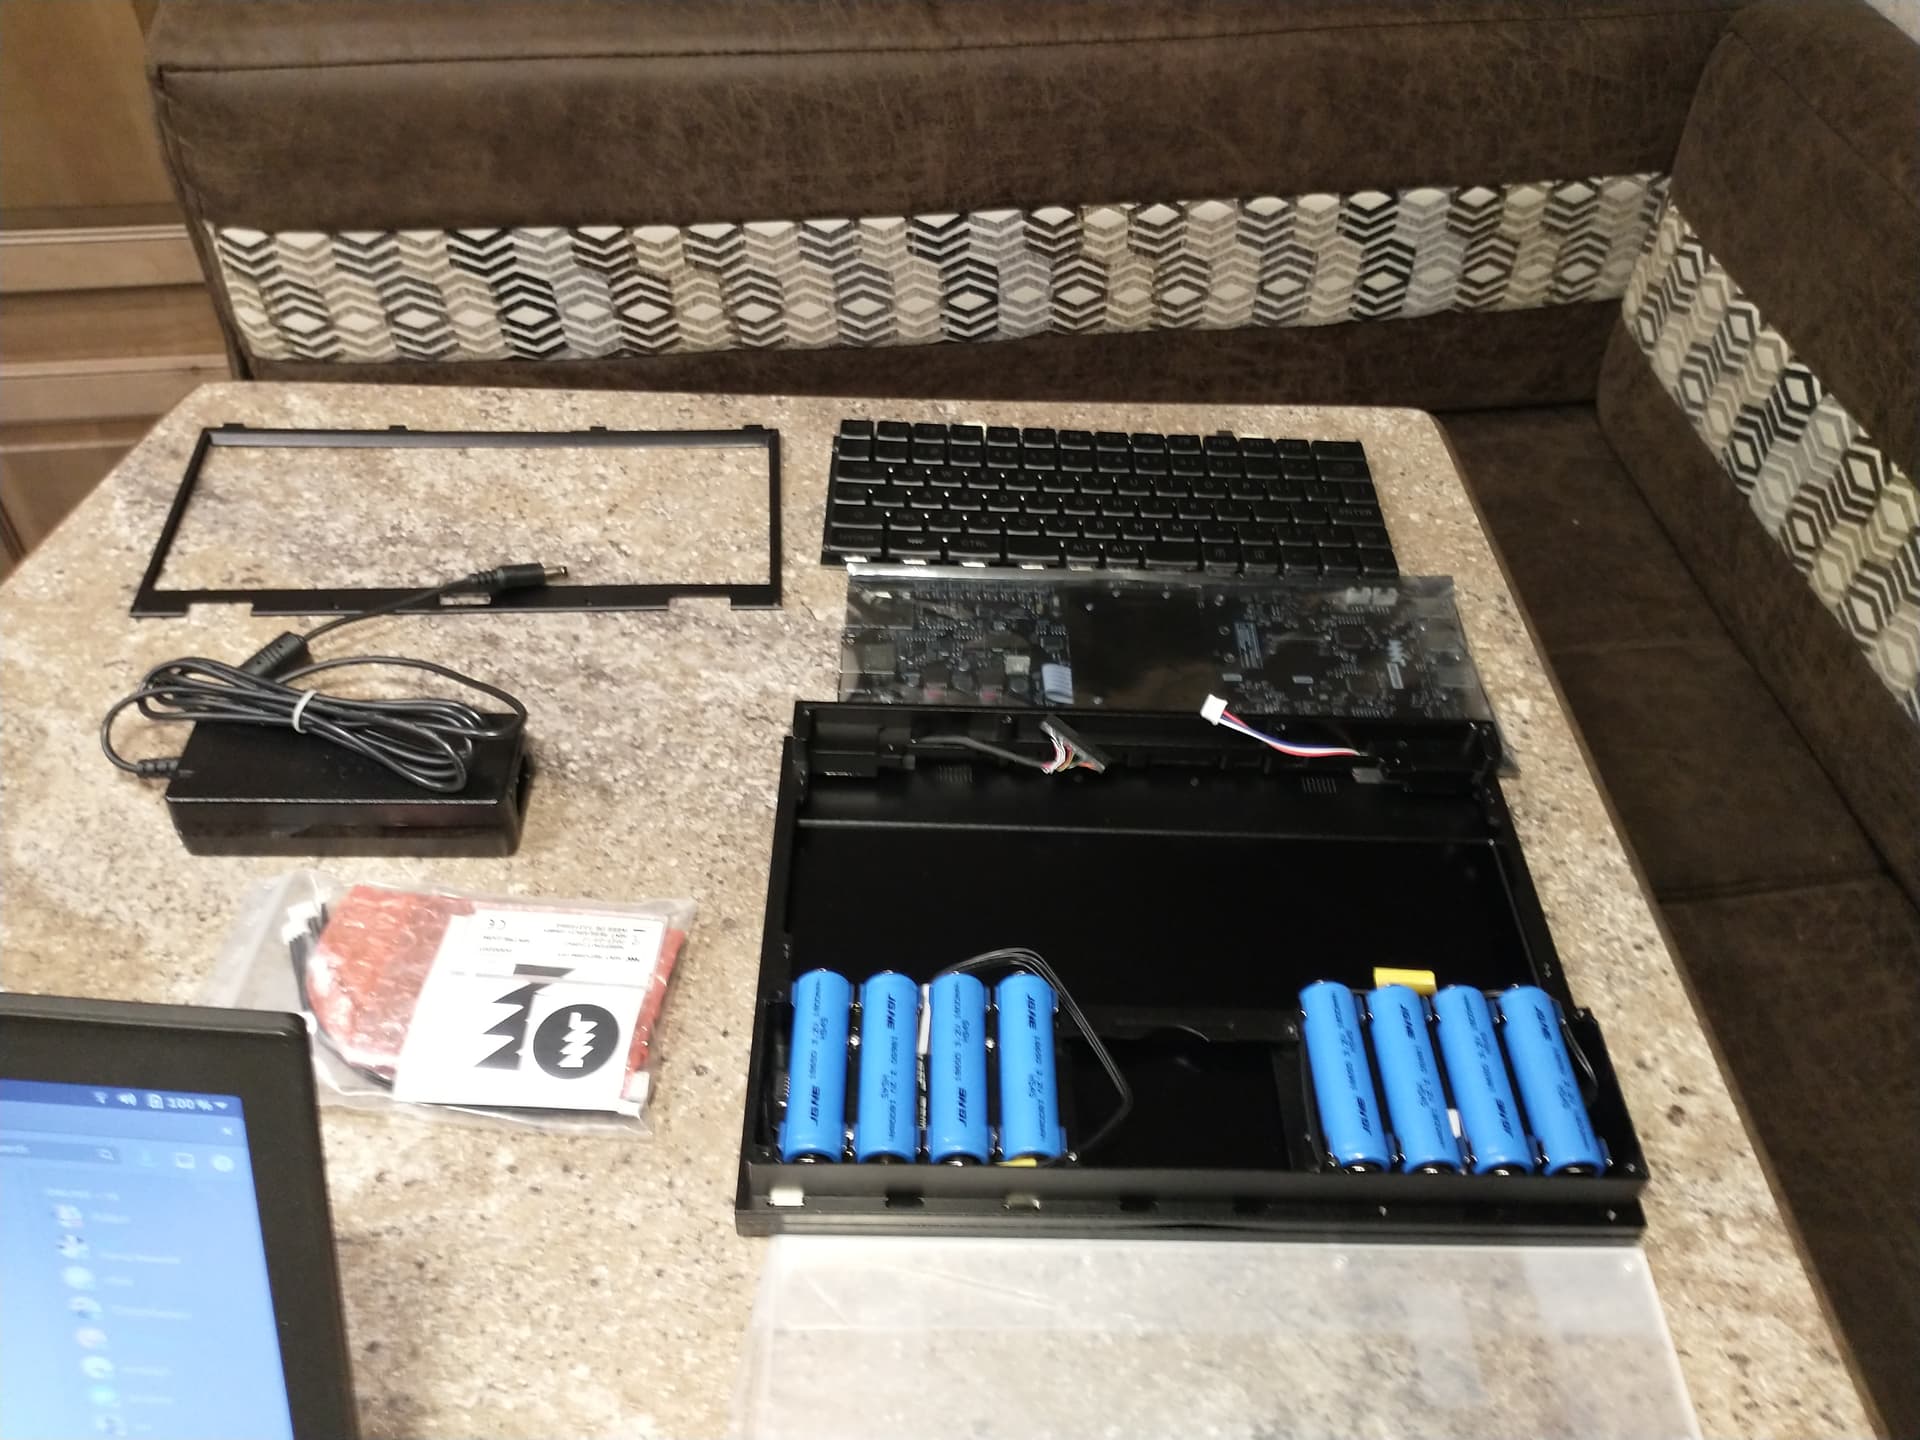
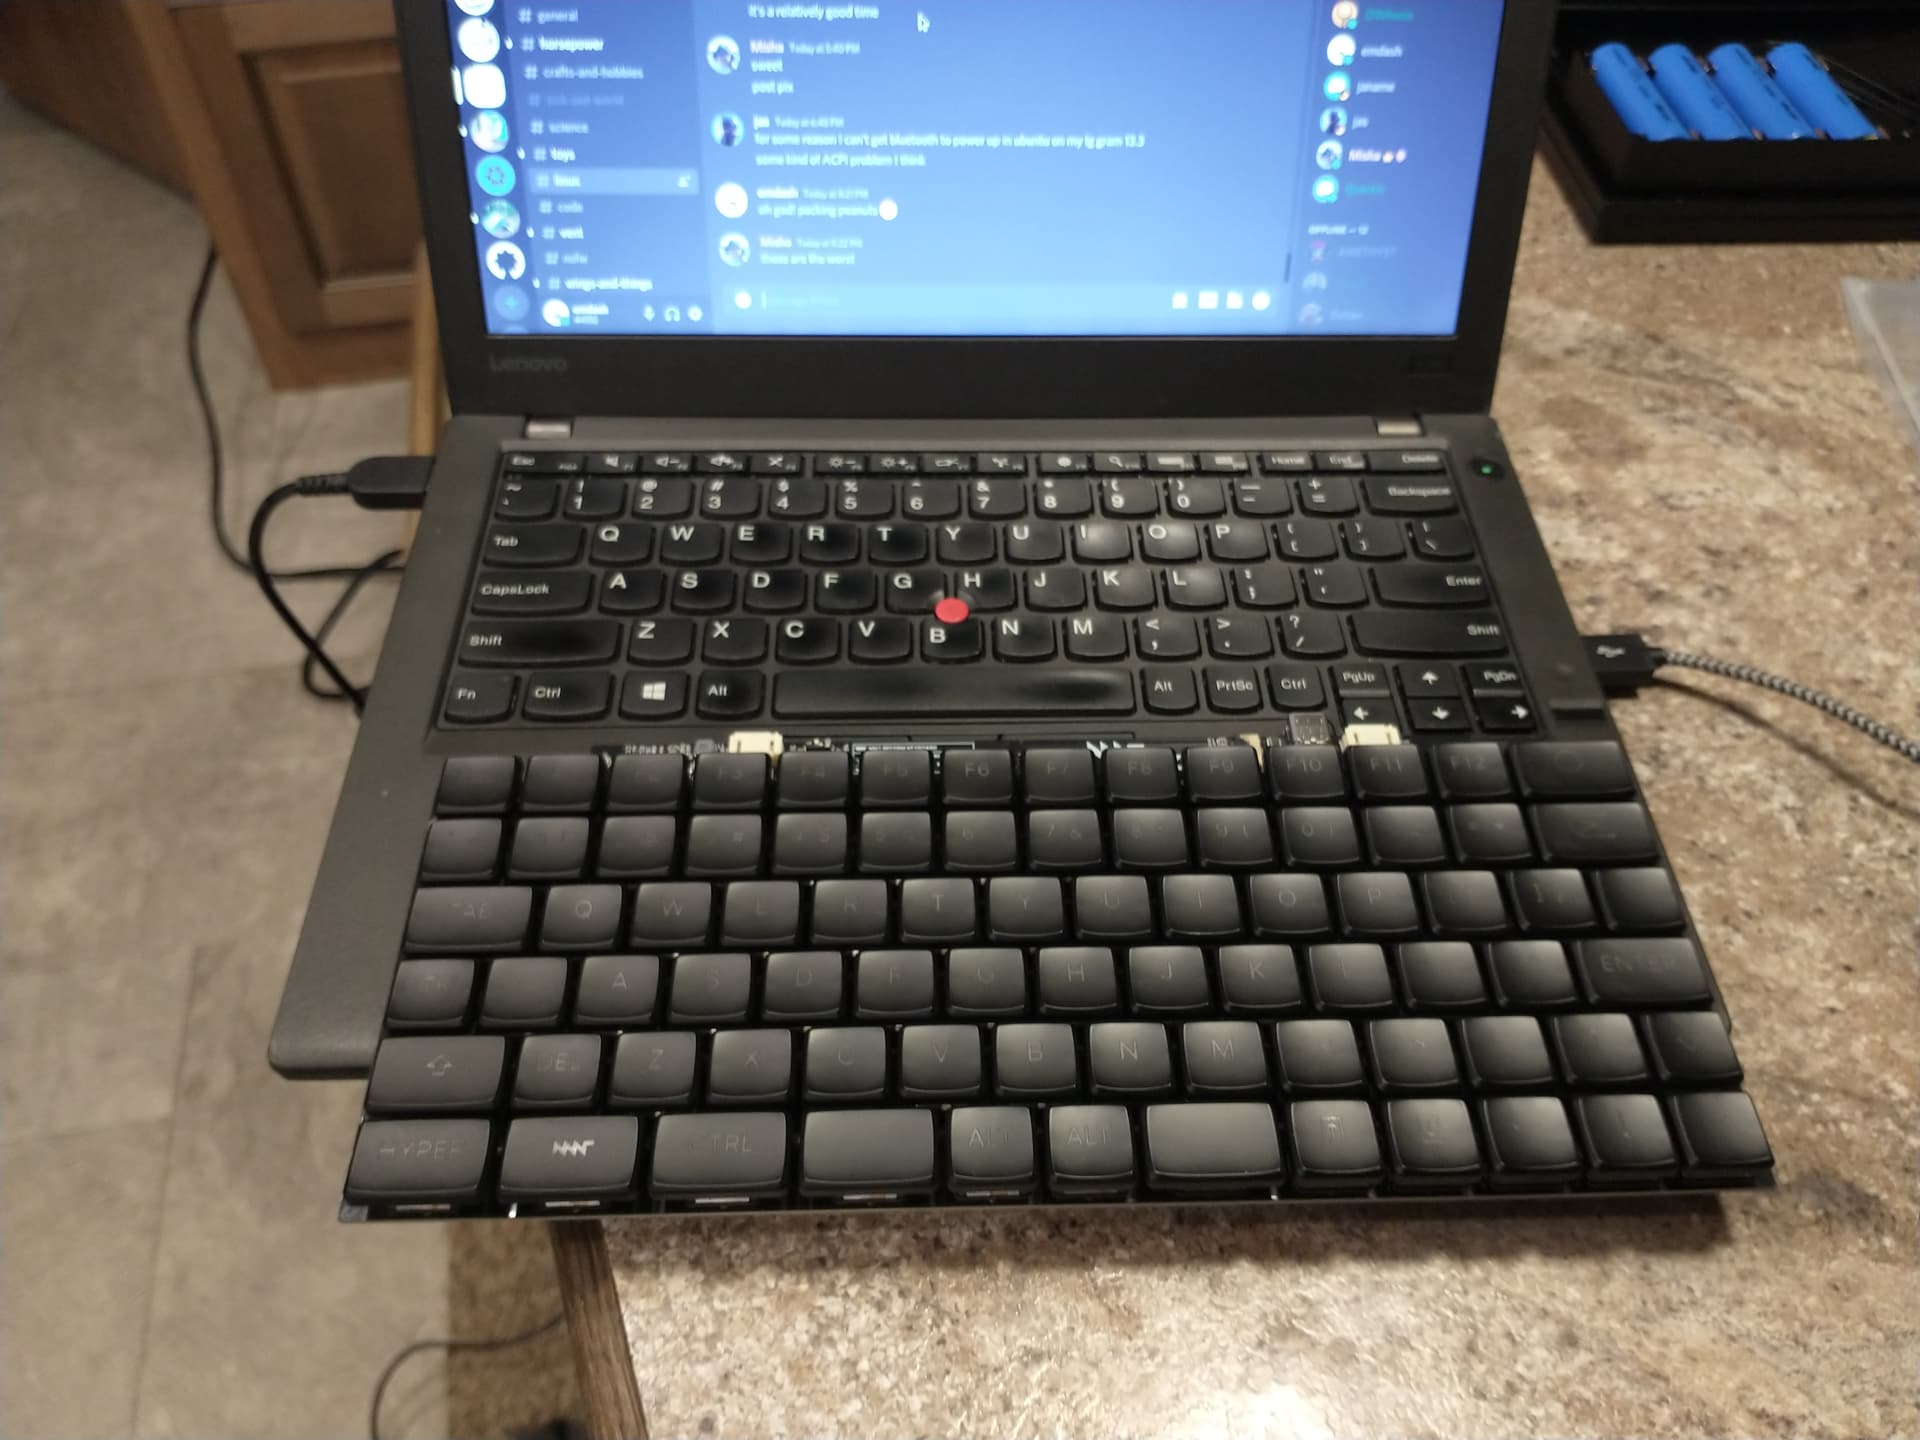
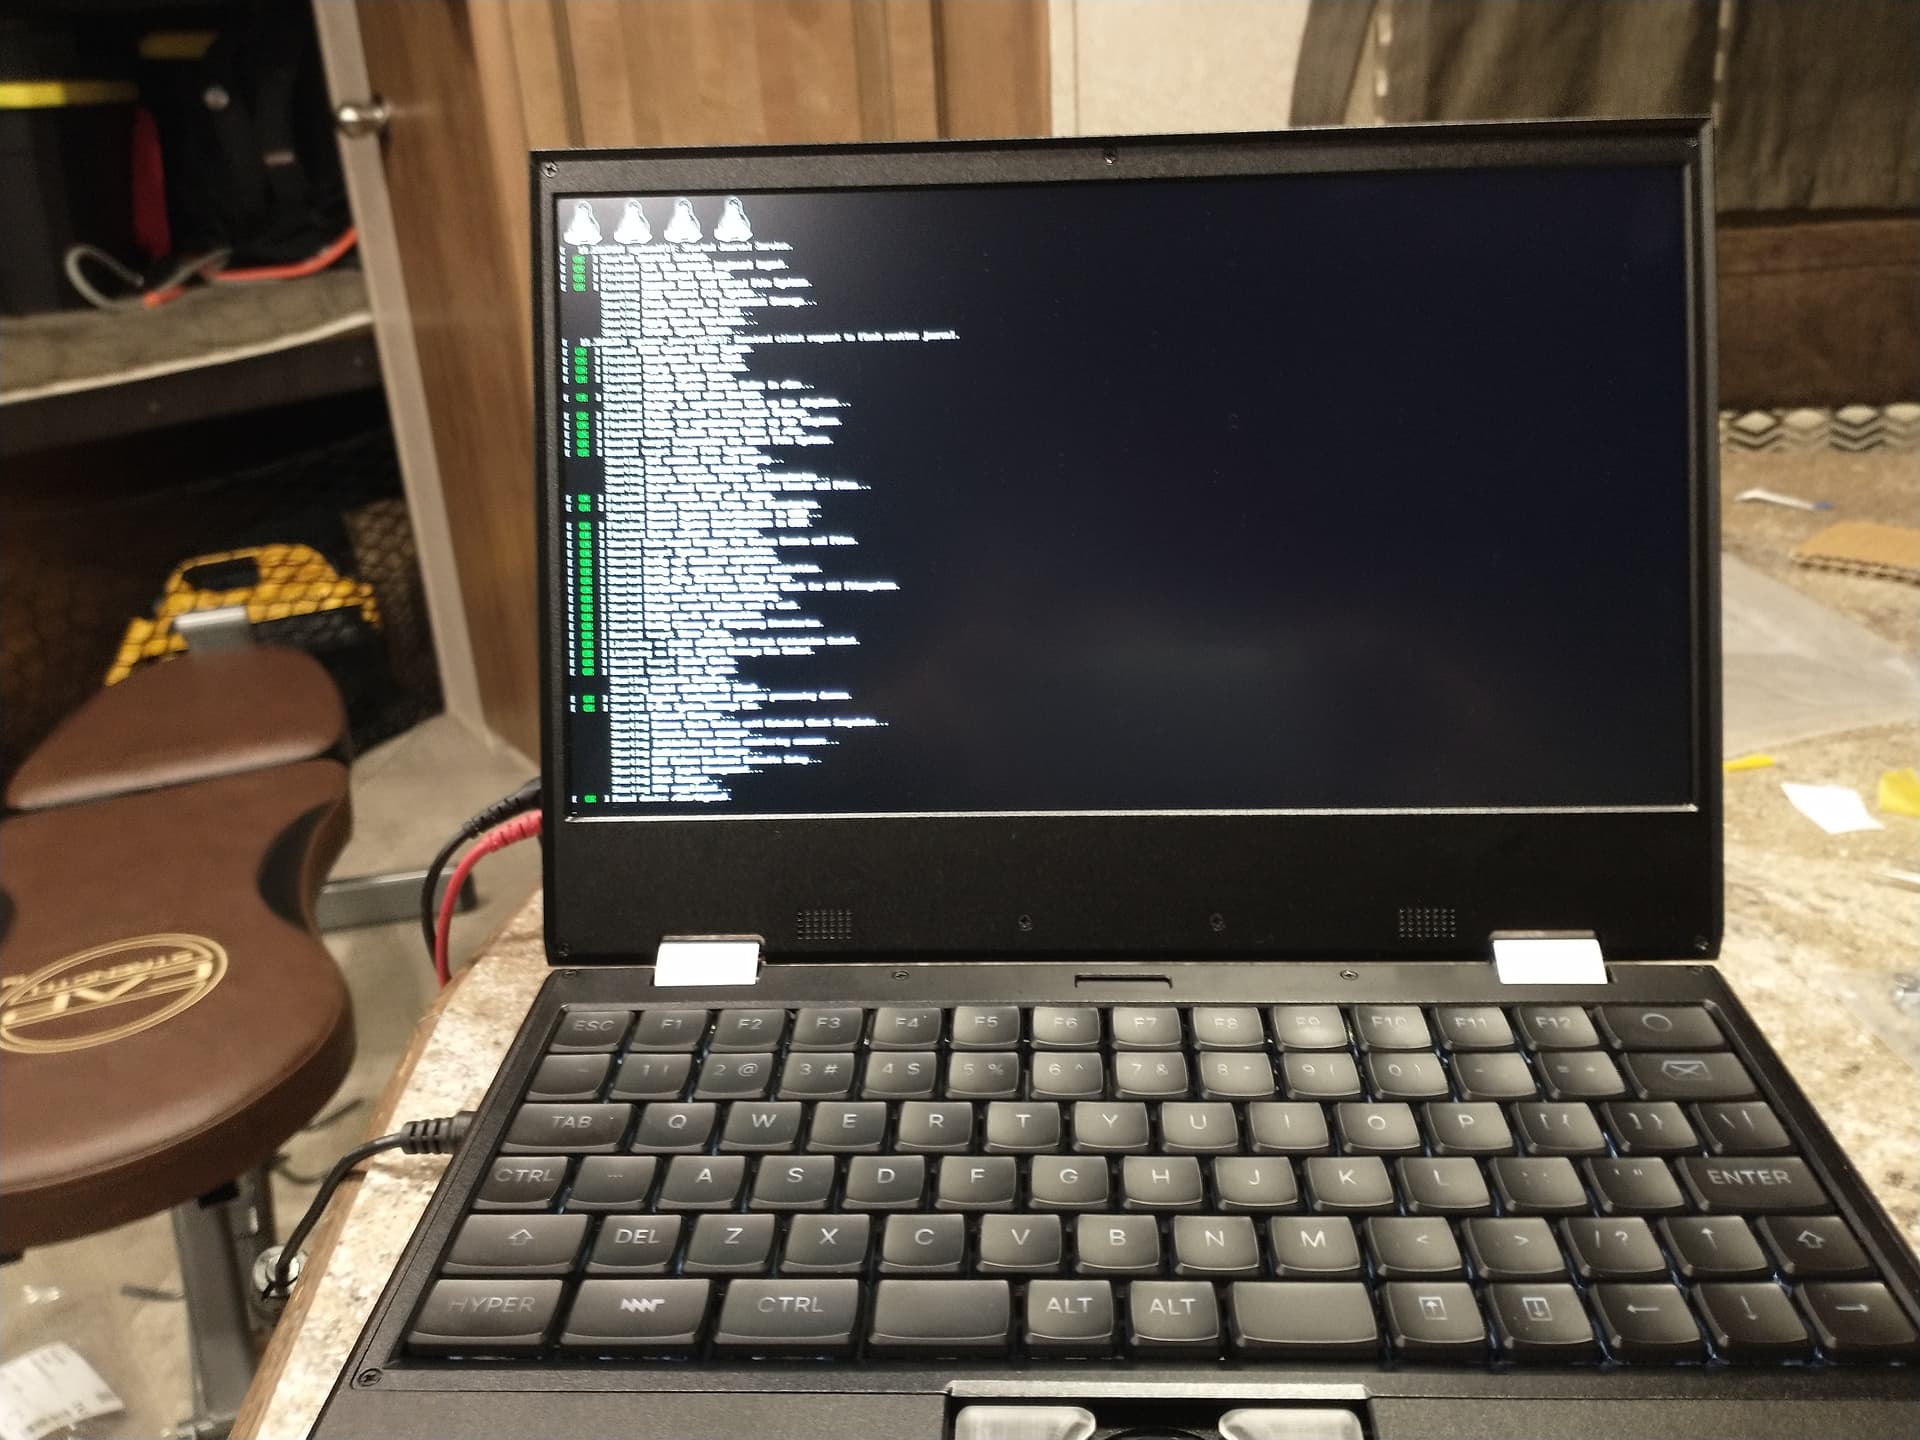
Keyboard comparison with my x260
I’m getting really irritated with this forum software. It nags me with a yellow pop-up after every post. And it things I’m posting “too quickly”… look I have other things I want to do today…
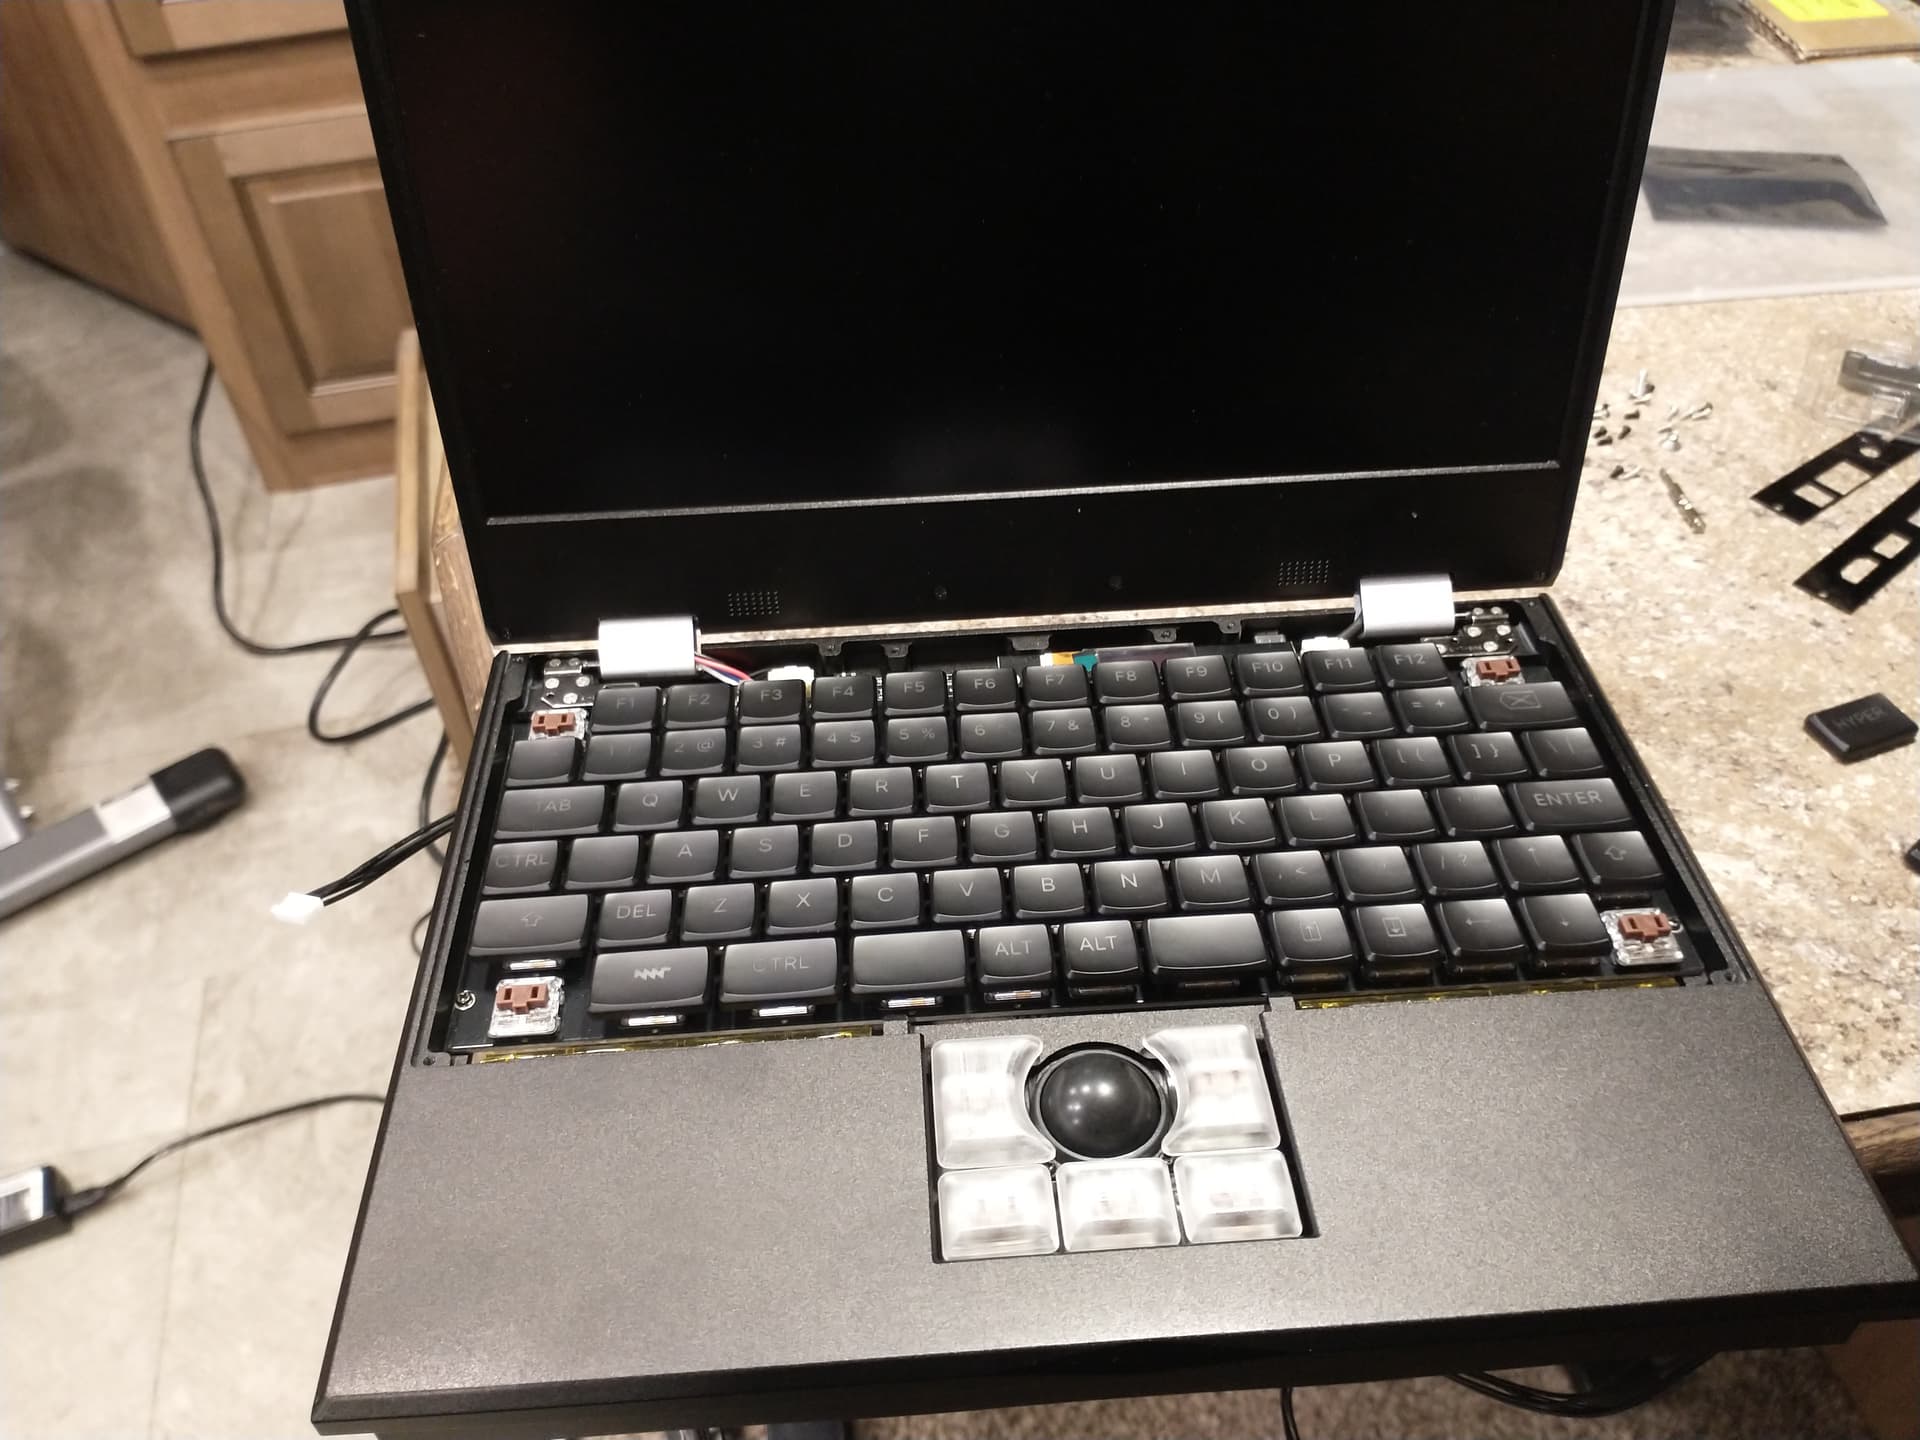
Was a little tricky getting the bottom cover on. I think this will get easier once the cables are “trained”.
Thanks for sharing!! For new users, the forum automatically stops what it deems as too many posts to stop spammers from going overboard. Apologies but it’s just the way it’s configured.
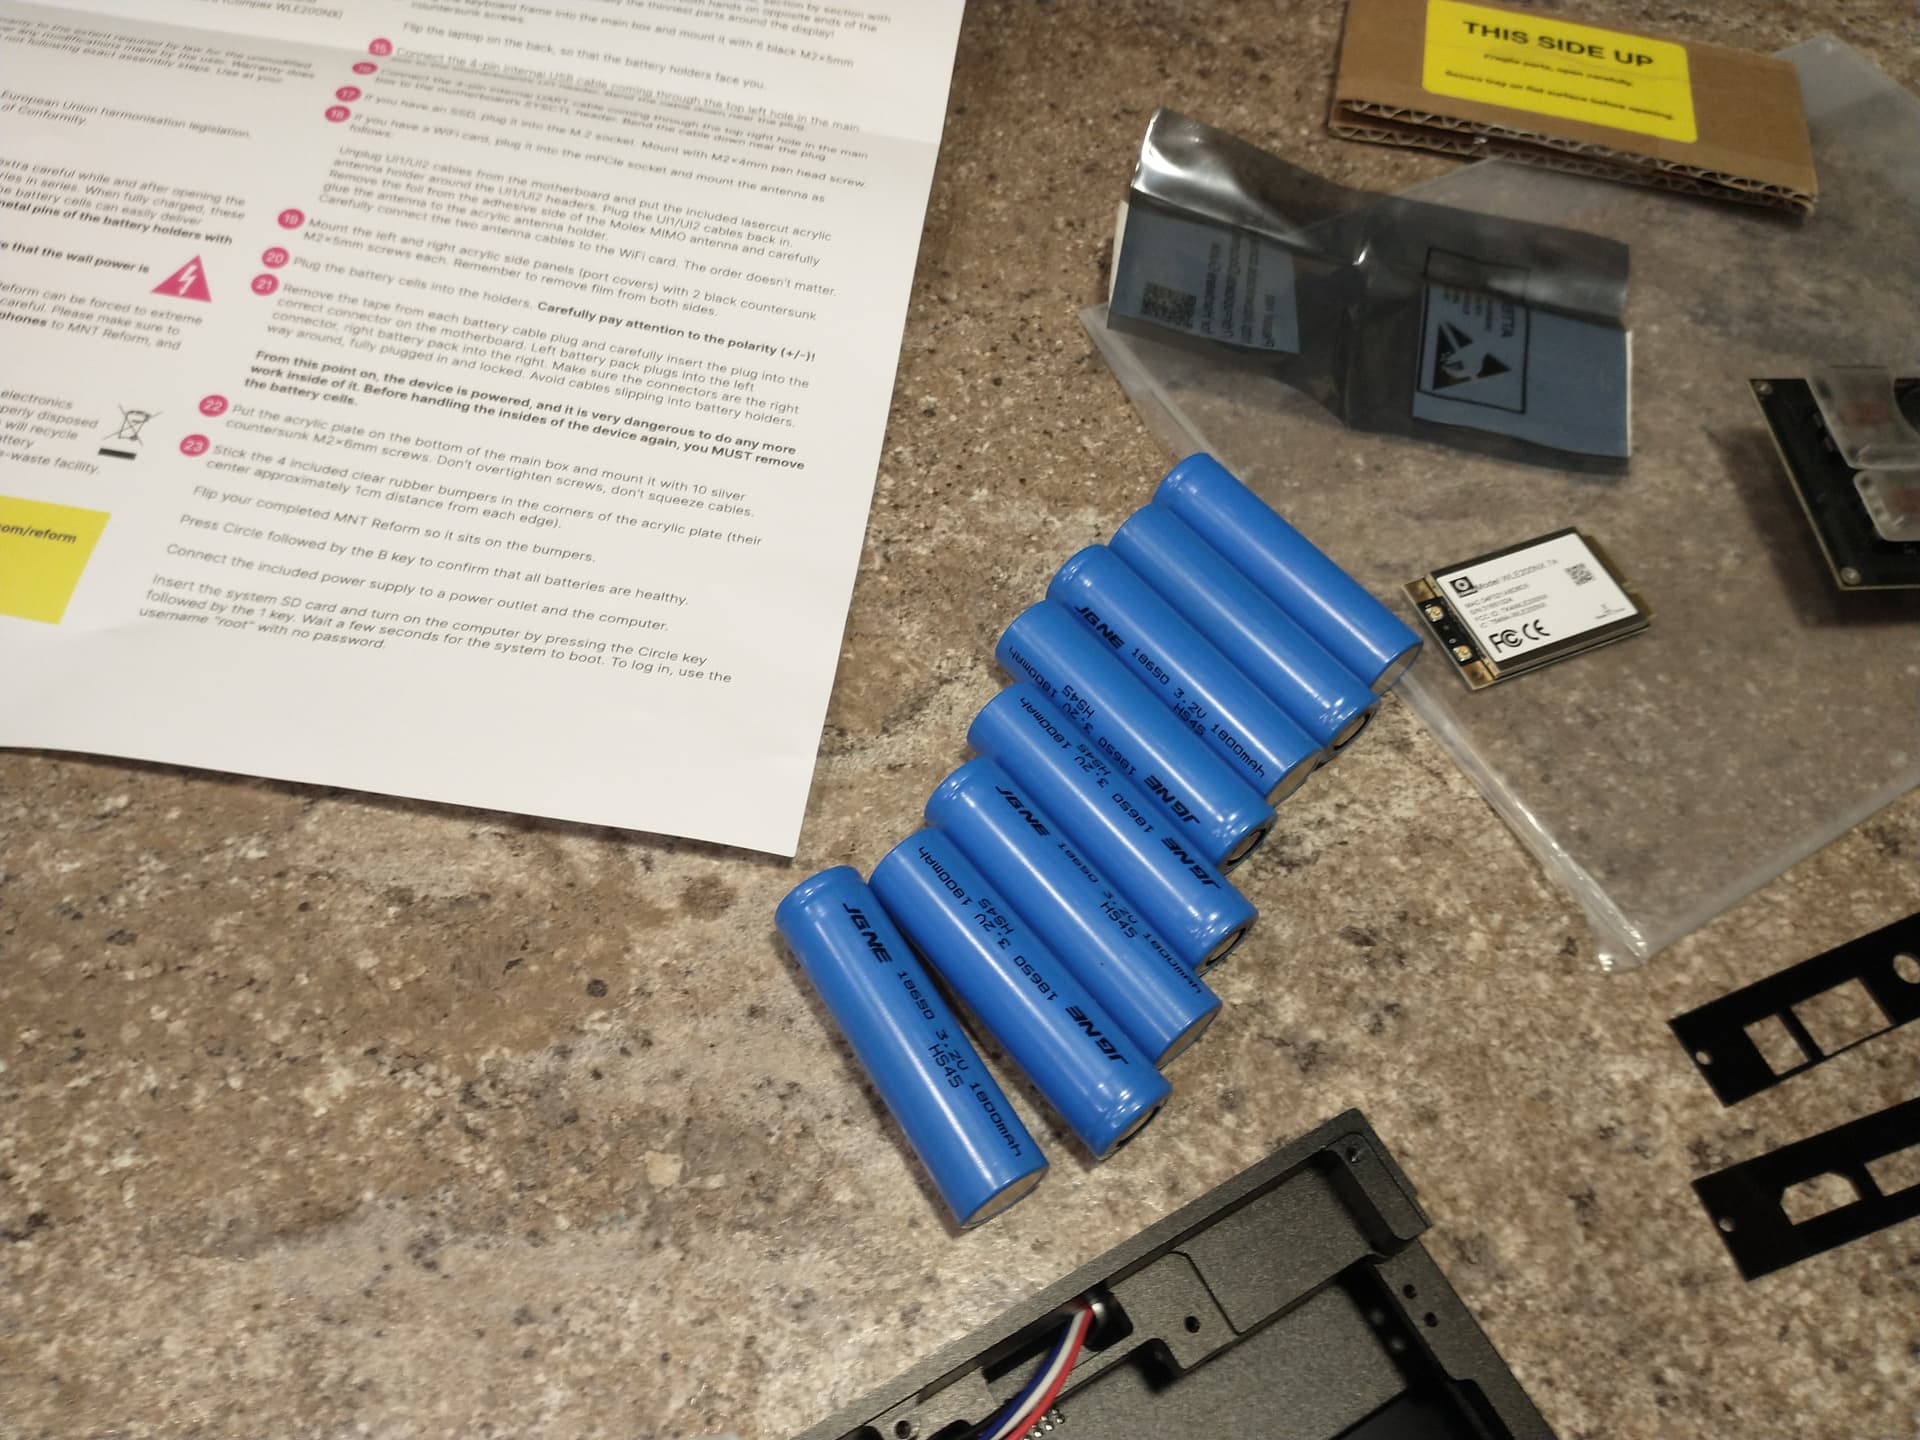
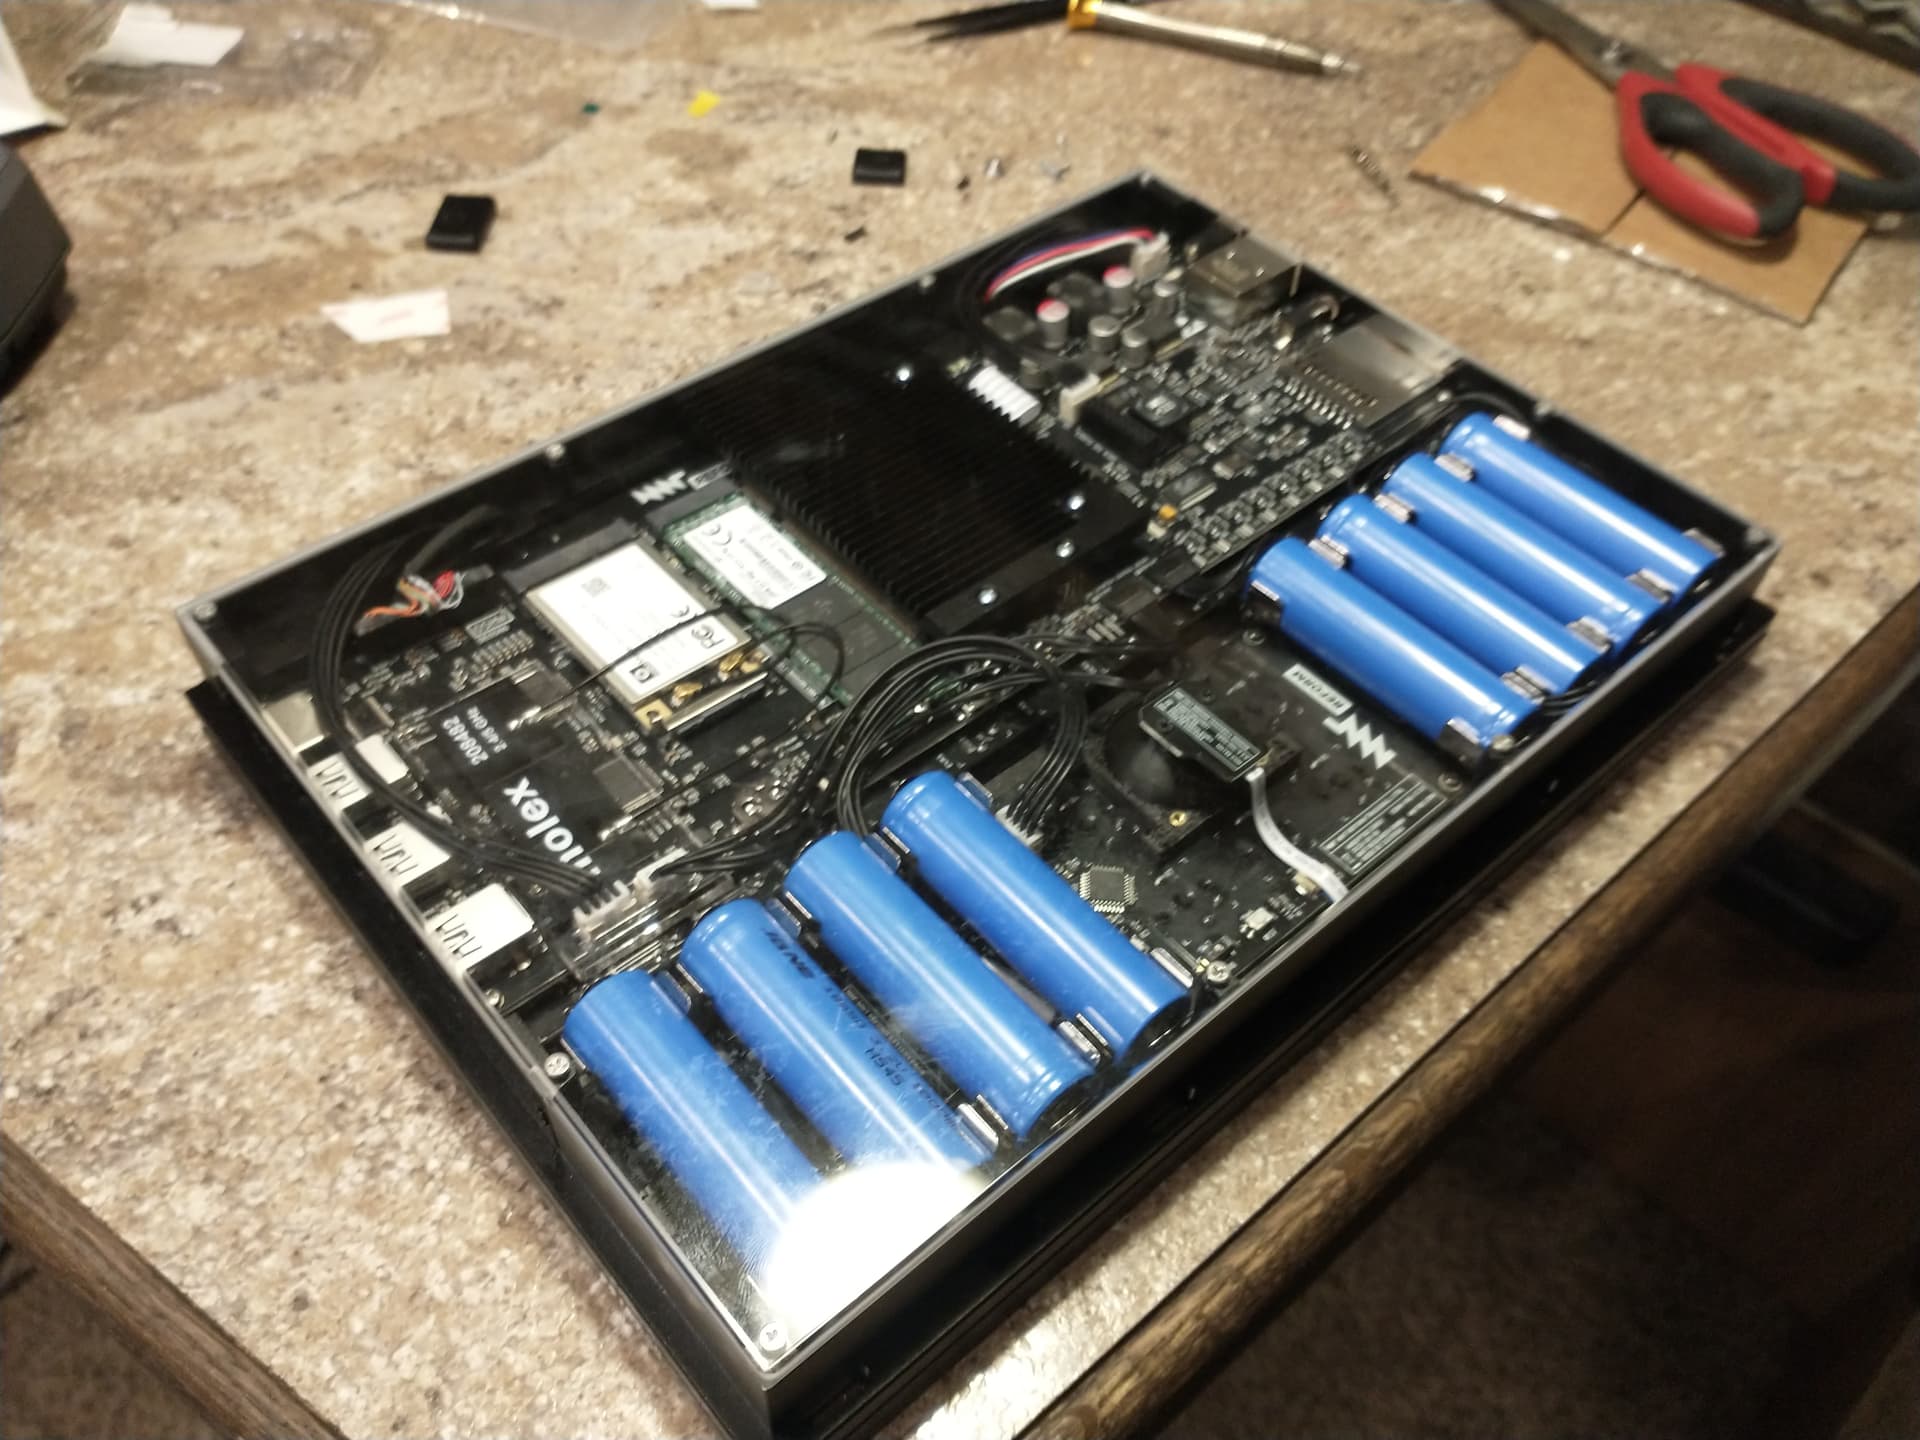
The black screws are magnetic (they are magnets themselfs), what really helps.
![]()
I routed the cables under/between the battery clamps so it wasn’t as long and sticking up
I think I ended up doing that, but I took the photo first. Either that or they popped out. I need to get all the cables “trained”.
I didn’t find the magnets helpful, still managed to drop screws through the case multiple times. Tried different orientations and whatnot. I have magnetic screw drivers, and I have small screwdrivers, but I don’t have small magnetic screw drivers.
I get that but: 1) it appears to be client-side logic, and spammers know how to defeat this. and 2) It’s be a better experience if the was a way for a customer to put in their serial number or something to have a shorter probation period. Some new users might need help right off the bat, or might be just be super enthusiastic.