I found the “reform2-keyboard-fw” git repo, and I think I could hack in support for things like drawing a bitmap to the OLED over the HID interface.
I couldn’t find instructions for building or flashing. Has anyone tried this yet?
I found the “reform2-keyboard-fw” git repo, and I think I could hack in support for things like drawing a bitmap to the OLED over the HID interface.
I couldn’t find instructions for building or flashing. Has anyone tried this yet?
@robey Out of curiosity, I also poked around that code a bit last week but am a little out of my depth there. I did, however, come across the spec sheet for the oled controller, which might have useful information:
Oooh thanks for that spec, that will definitely be handy! 
It turns out I was looking in the wrong place – because the OLED is part of the keyboard unit, it’s documented on page 72-73 of the manual. (Can I just add that, unlike most manuals, this one is extremely useful and detailed? Kudos!)
I’ve managed to make a tiny modification to the firmware for testing (pic here: Robey ☠️: "oh no, it worked! i should not be given this kind…" - Mastodon for Tech Folks), and here are my notes so far, for anyone getting stuck:
apt install gcc-avr avr-libc dfu-programmer
While poking around the keyboard firmware for implementing a power-saving mode, I looked into this. Right now there’s no methods in ssd1306.c for arbitrary graphics drawing. The logo drawn during power on is actually stored in the font and rendered as characters. Though the OLED itself is graphics only. To do arbitrary graphics I would take the code from matrix_render and modify that to make a version that writes a single 8 bit tall column. Then add a protocol into CALLBACK_HID_Device_ProcessHIDReport to take an x and y (/8) position and data byte, then write that using the method you made.
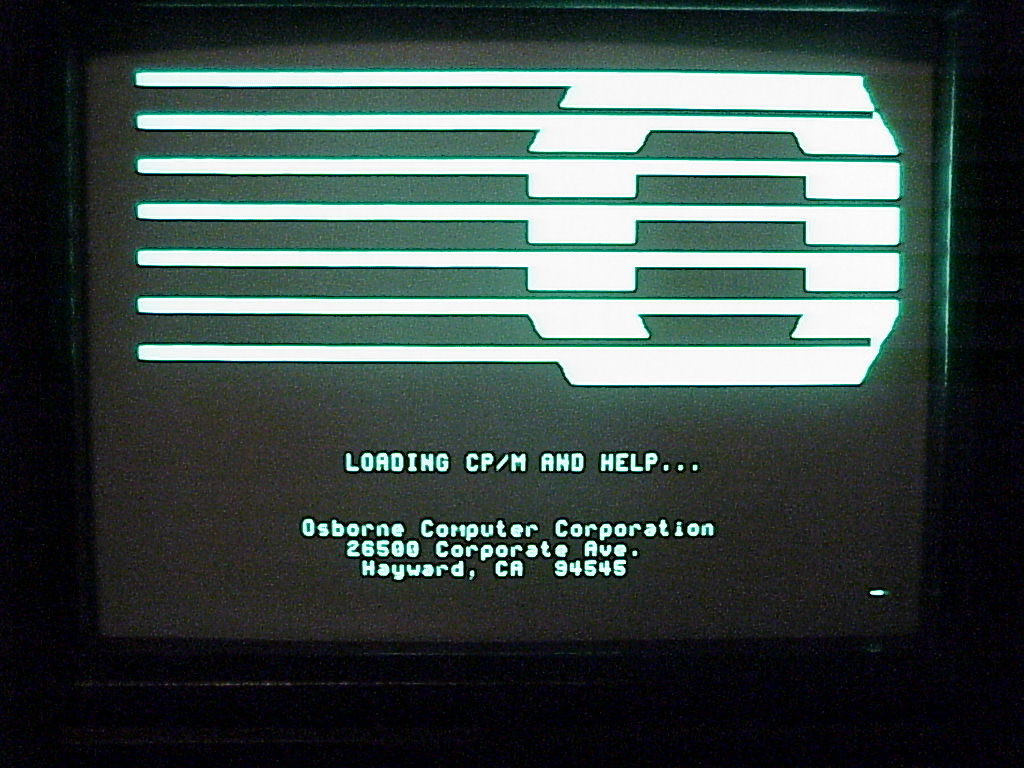
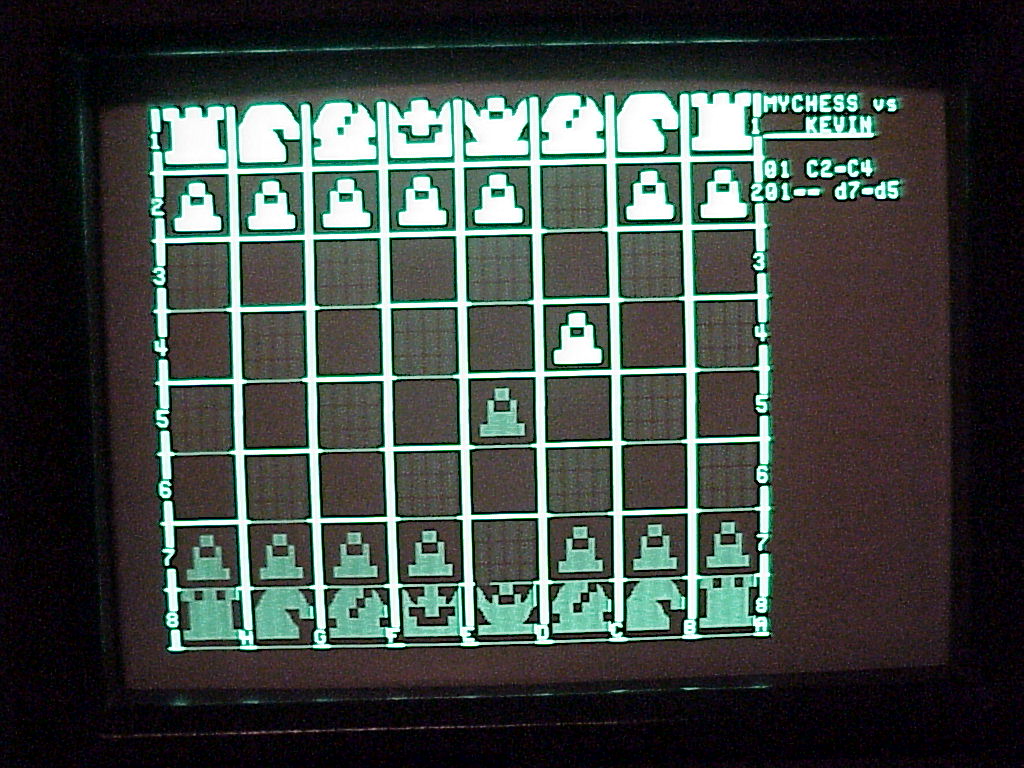
I love this, takes me back to my first computer from the early 80s which did the same kind of thing:
http://www.kev.pulo.com.au/osborne1/pictures/763.jpg
http://www.kev.pulo.com.au/osborne1/pictures/775.jpg
Really looking forward to getting my hands on the Reform.
@robey @Chartreuse Let me know if either of you make progress on the bitmap version of the firmware. I can then whip up a small GUI in Squeak or similar that will allow us to interactively “live edit” using basic paint tools.
I’ve been making progress, and I can now say it’s definitely possible. A lot of my work has been in splitting up the files into smaller modules so I can understand them easier and isolate the interactive menu from the display from the OLED driver. I hope to have something to share within a week.
The logo in the font is pretty neat, but it consumed a lot of flash, so I moved it into a simple RLE-encoded bitmap, but I think I can keep the retro effect by pretending each line is trailing a block cursor as it renders:
(Don’t worry, normally the atmega is fast enough to decode and render an “entire” 128x32 bitmap faster than I can notice. I made it slow on there on purpose.)
I just tried to flash the keyboard, which was a frightening experience… Could I suggest to add to the handbook what to do after running “./flash”? I pushed the DIP switch back (which was correct), but then I assumed I had to push the reset button again (which is wrong, as it puts the Atmel into USB mode again and the keyboard is not working). It is enough in that case to run ./flash again and then to just push the DIP switch back to its starting position.
By the way, is there any way to boot the machine without the internal keyboard? Can the circle switch be emulated with an external keyboard?