I have finally printed what should be another prototype, but will probably end up being the final lid made for this laptop.
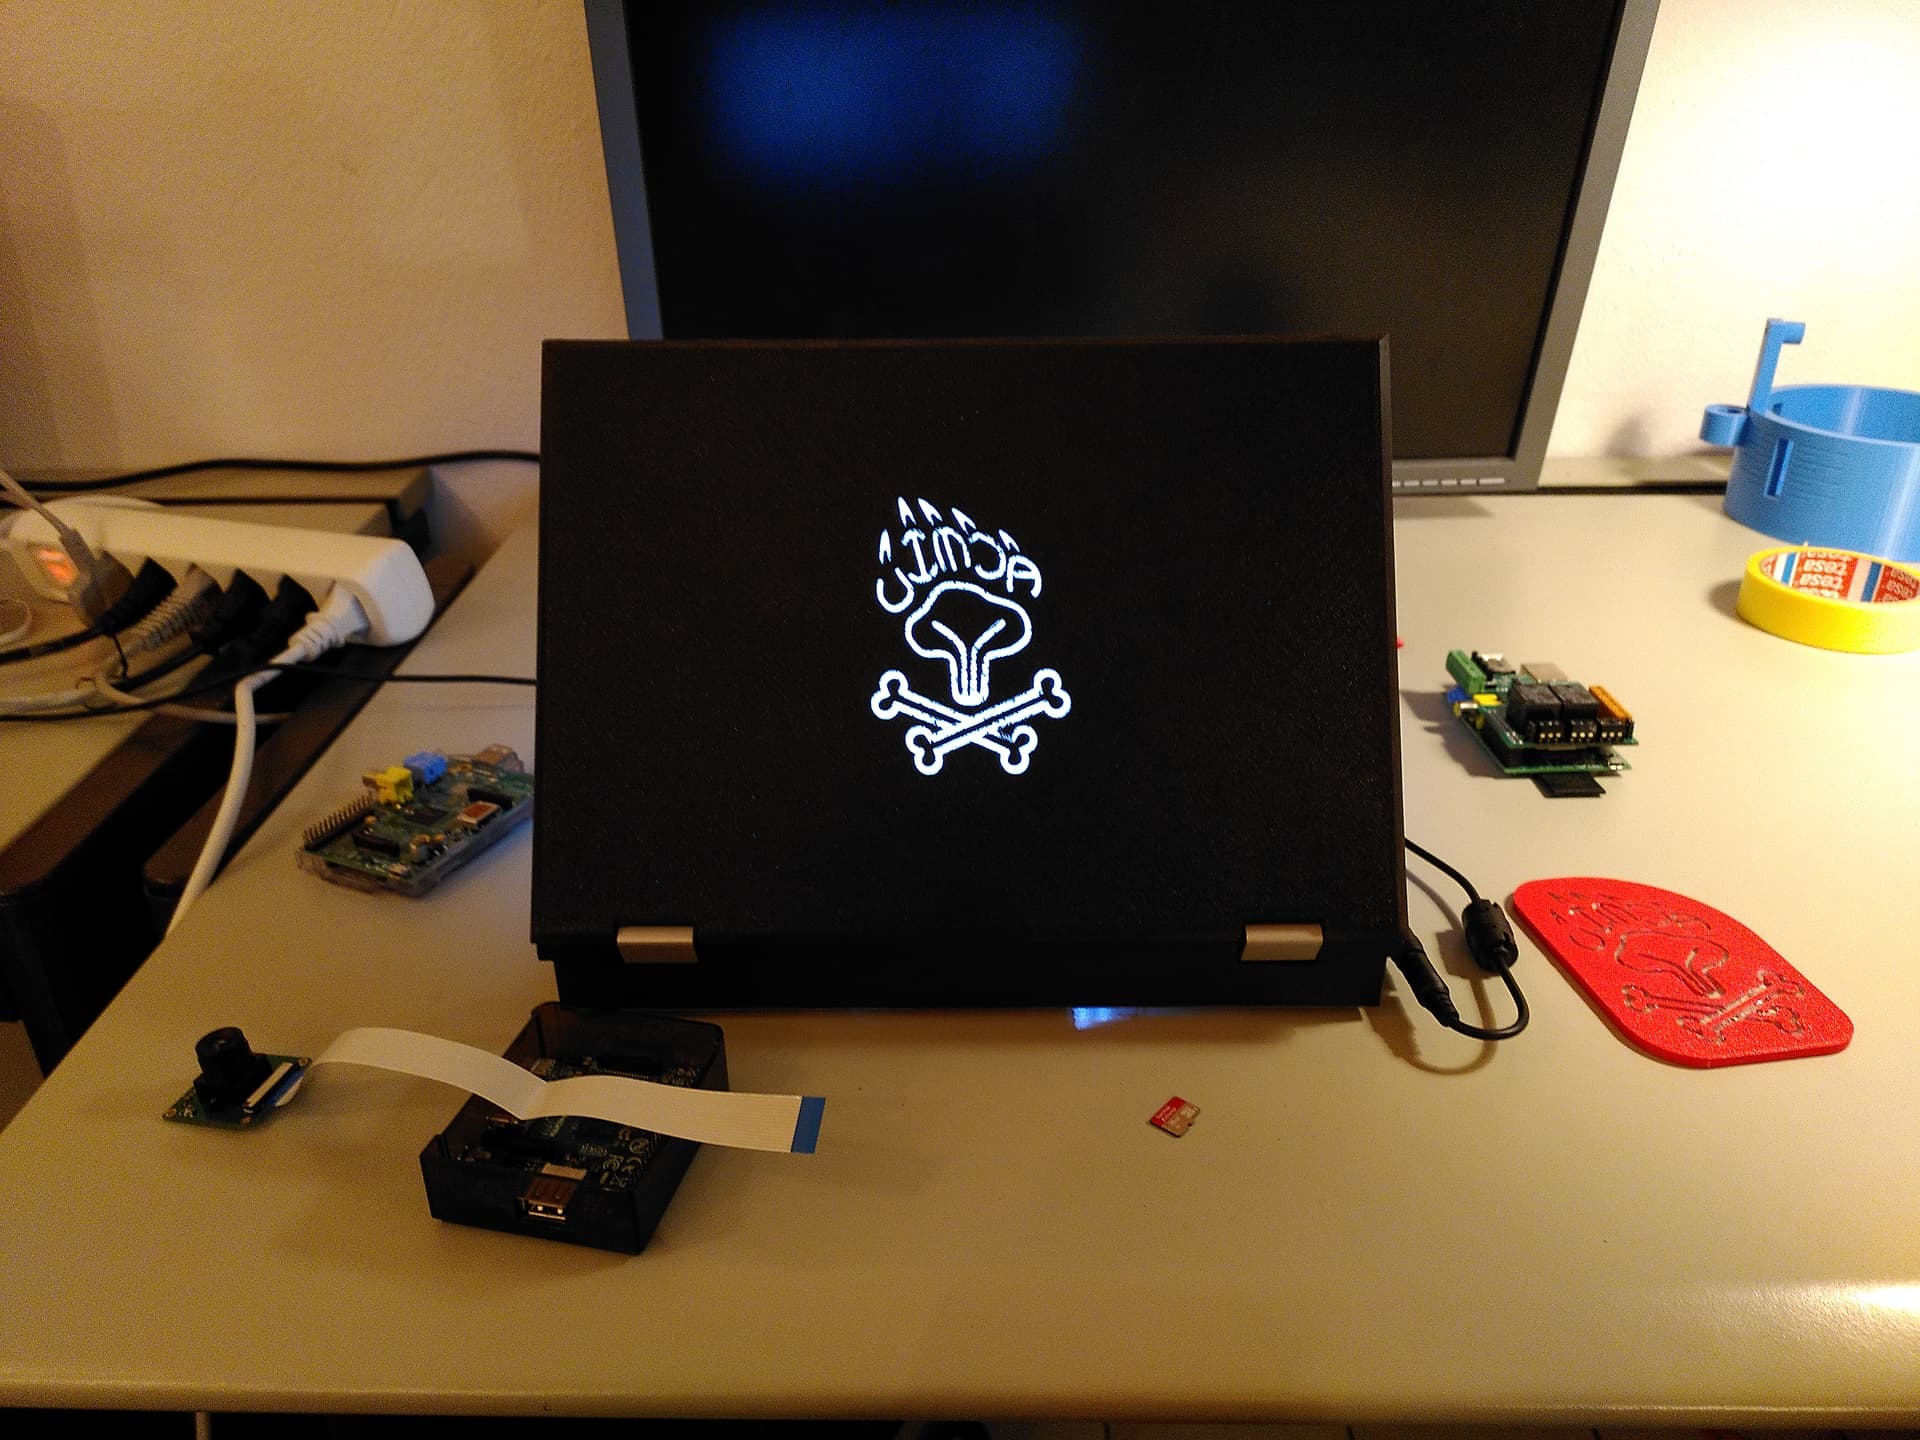
Yes, you are seeing correctly. This one DOES have an illuminated logo! More on that further down.
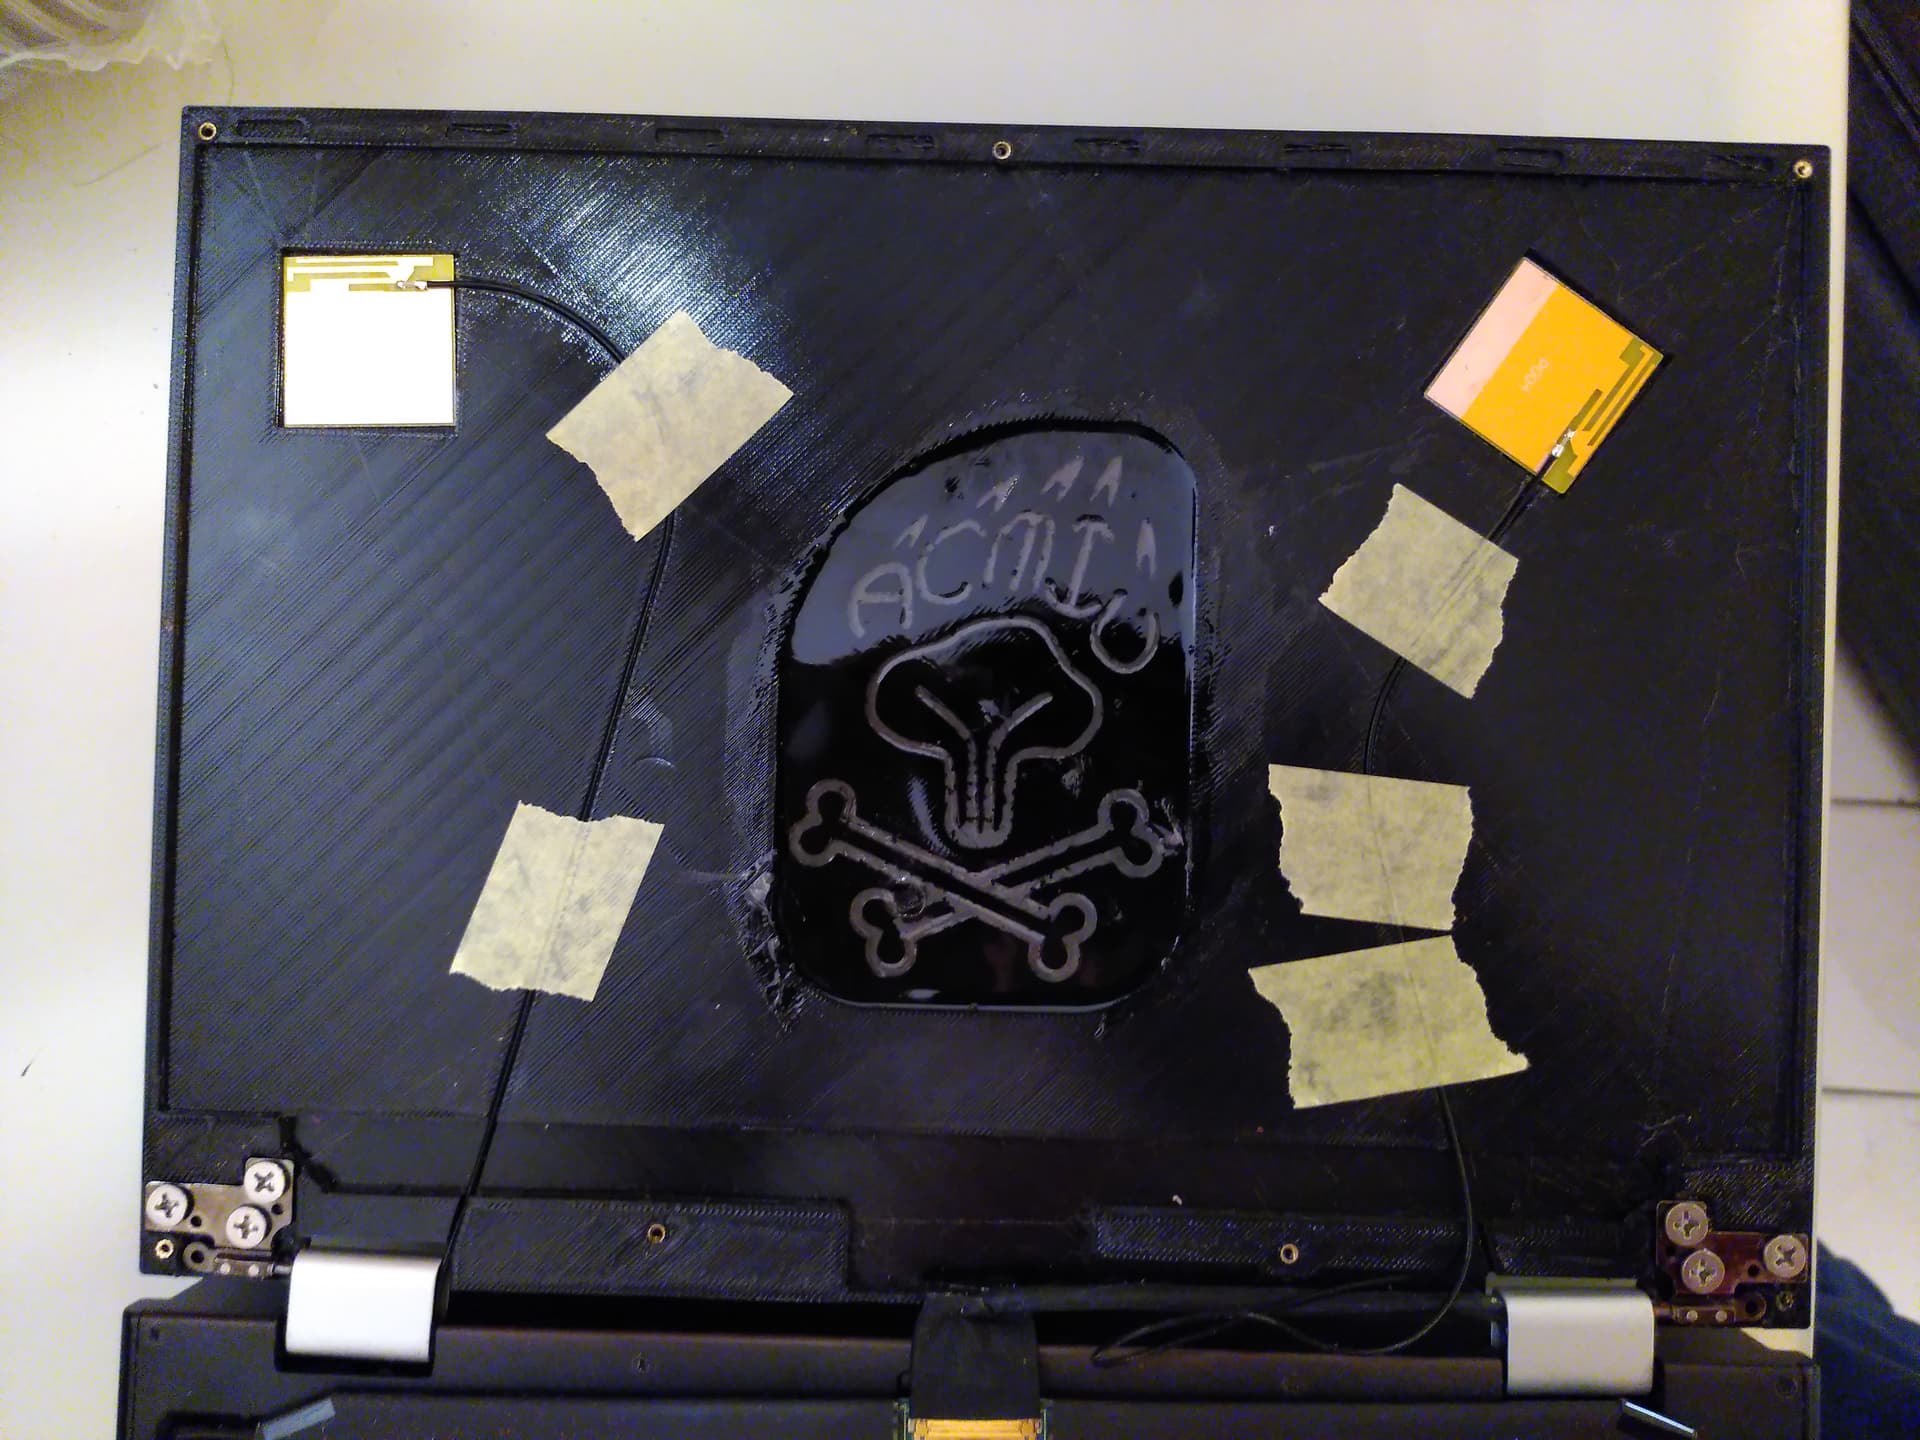
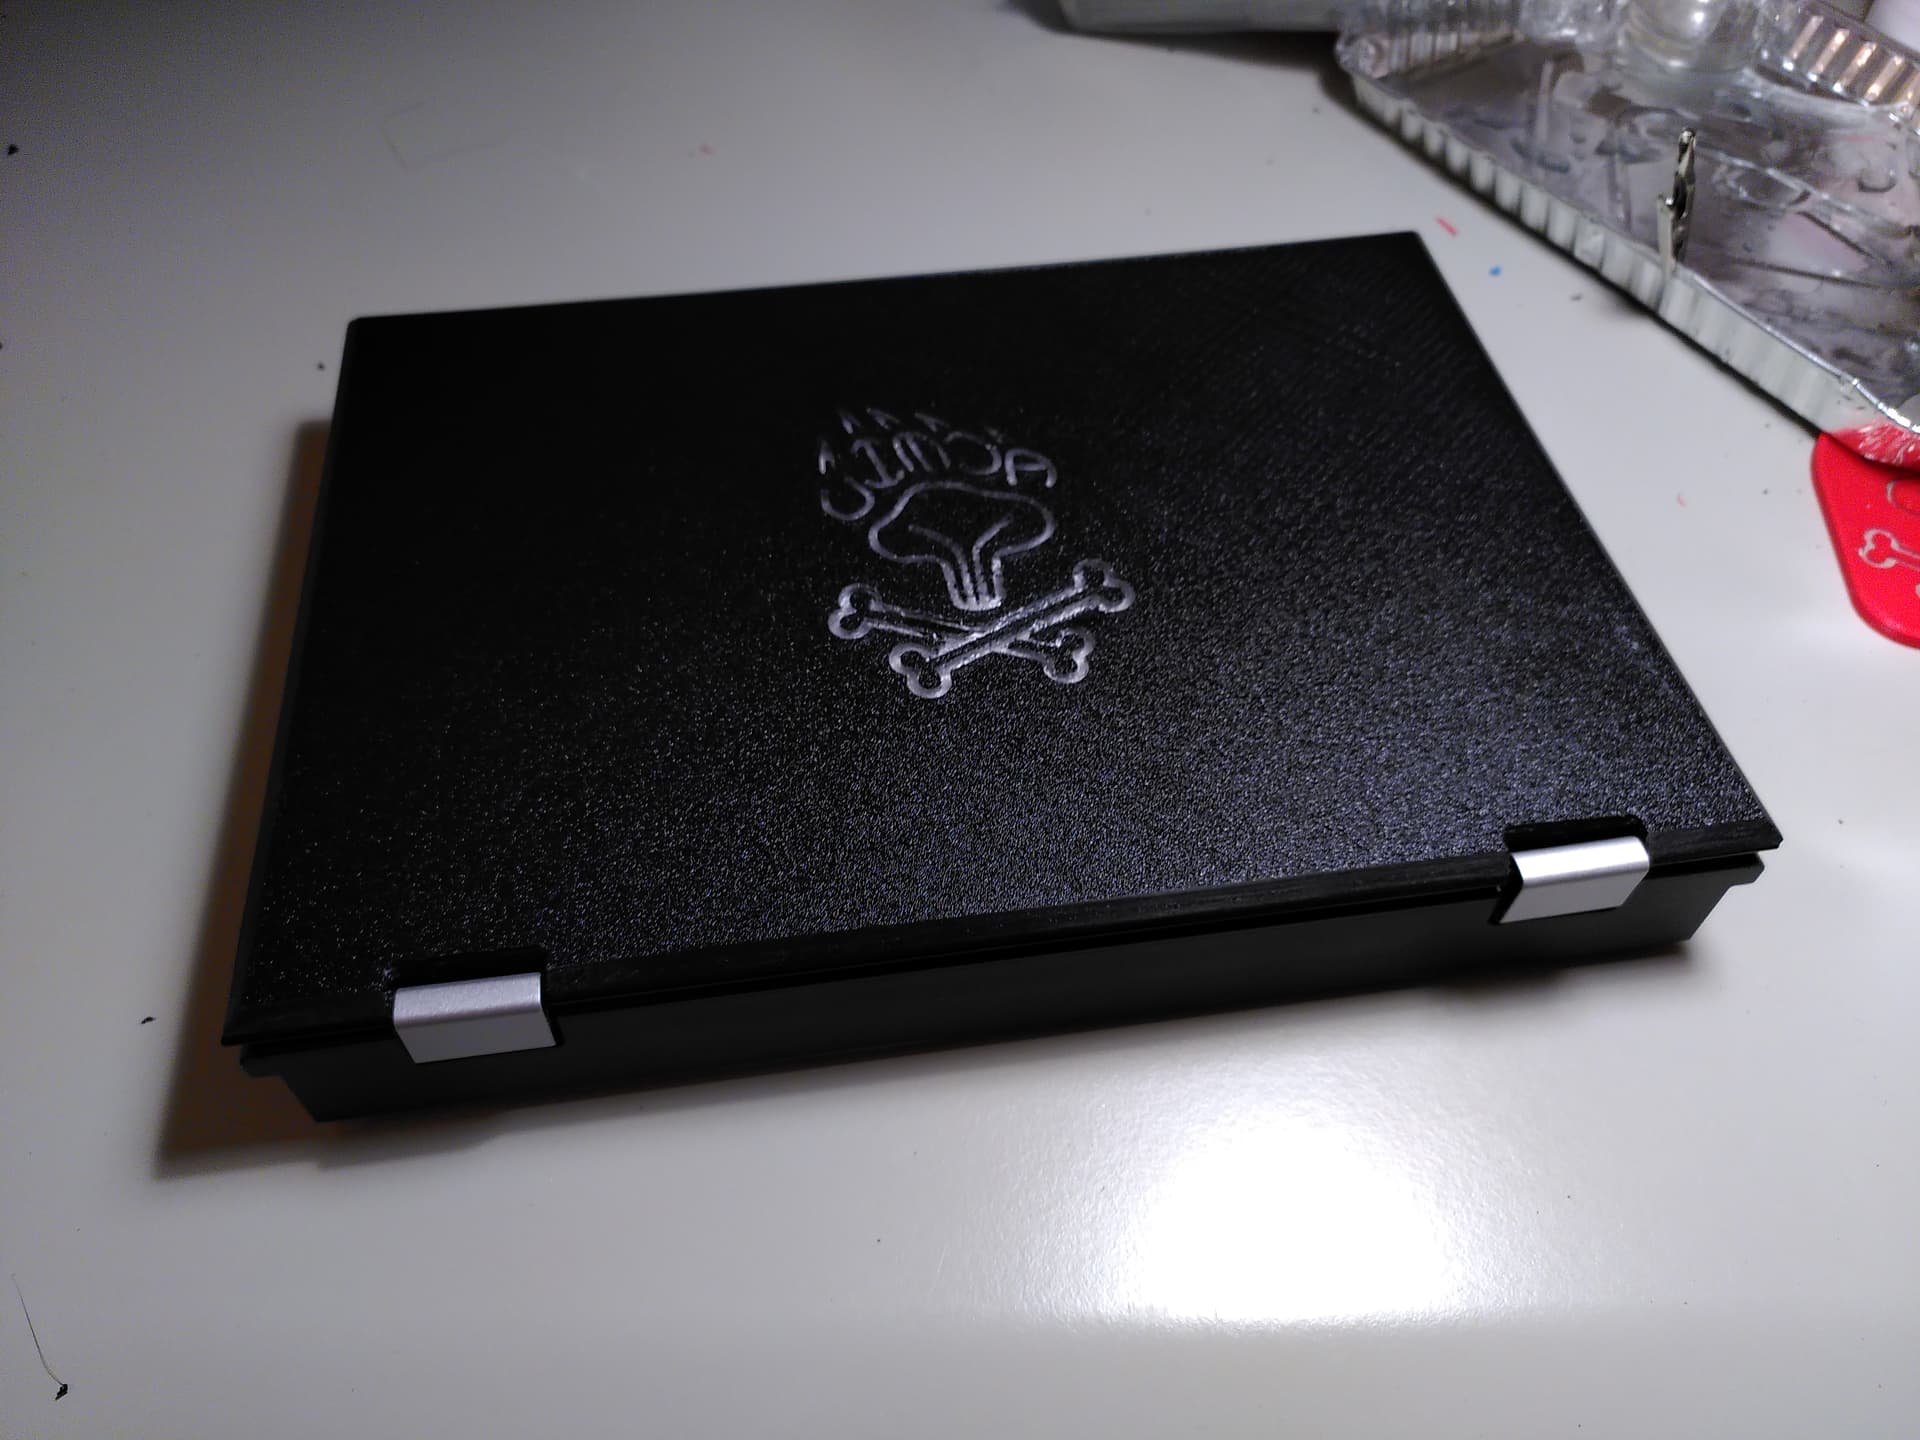
Other than that there have been some additional changes since the last design; The cables for the Wif-antennas have been re-routed and the entire panel has been thickened by 1mm in an attempt to make it stiffer. Plus, thinking that this would be the final print, I went with black.
This one was printed upside down, with the outward facing part on the print plate. We made quite some changes to the printer. Most notably the switch from a glass print bed to a PEI covered steel plate. This resulted in this very pretty texture that also helps to hide the print lines.
The panel still has considerable problems. First of all, we are experiencing shrinkage of about 0.4%. This means more than 1mm across the entire width. This means the screws are not placed correctly and the entire thing won’t fit properly, or only when applying some force. One would think that on the 4th or 5th print I would have accounted for that, but…
Also the printer had quite a bit of stringing and oozing, requiring rather more post-processing than I am happy with. Someone ™ decided to switch filament supplier and slicer at the last moment m( Particularly, it oozed into the logo quite a lot. It looks quite nasty ![]()

We couldn’t really remove those bits before pouring the resin because how how we did that. We poured the resin while the print was still on the heated print bed. This solves the problem of sealing the pour plus the hope was that the resin would end up with the same texture as the print, leading to a more uniform look. Prior testing showed that this is problematic:
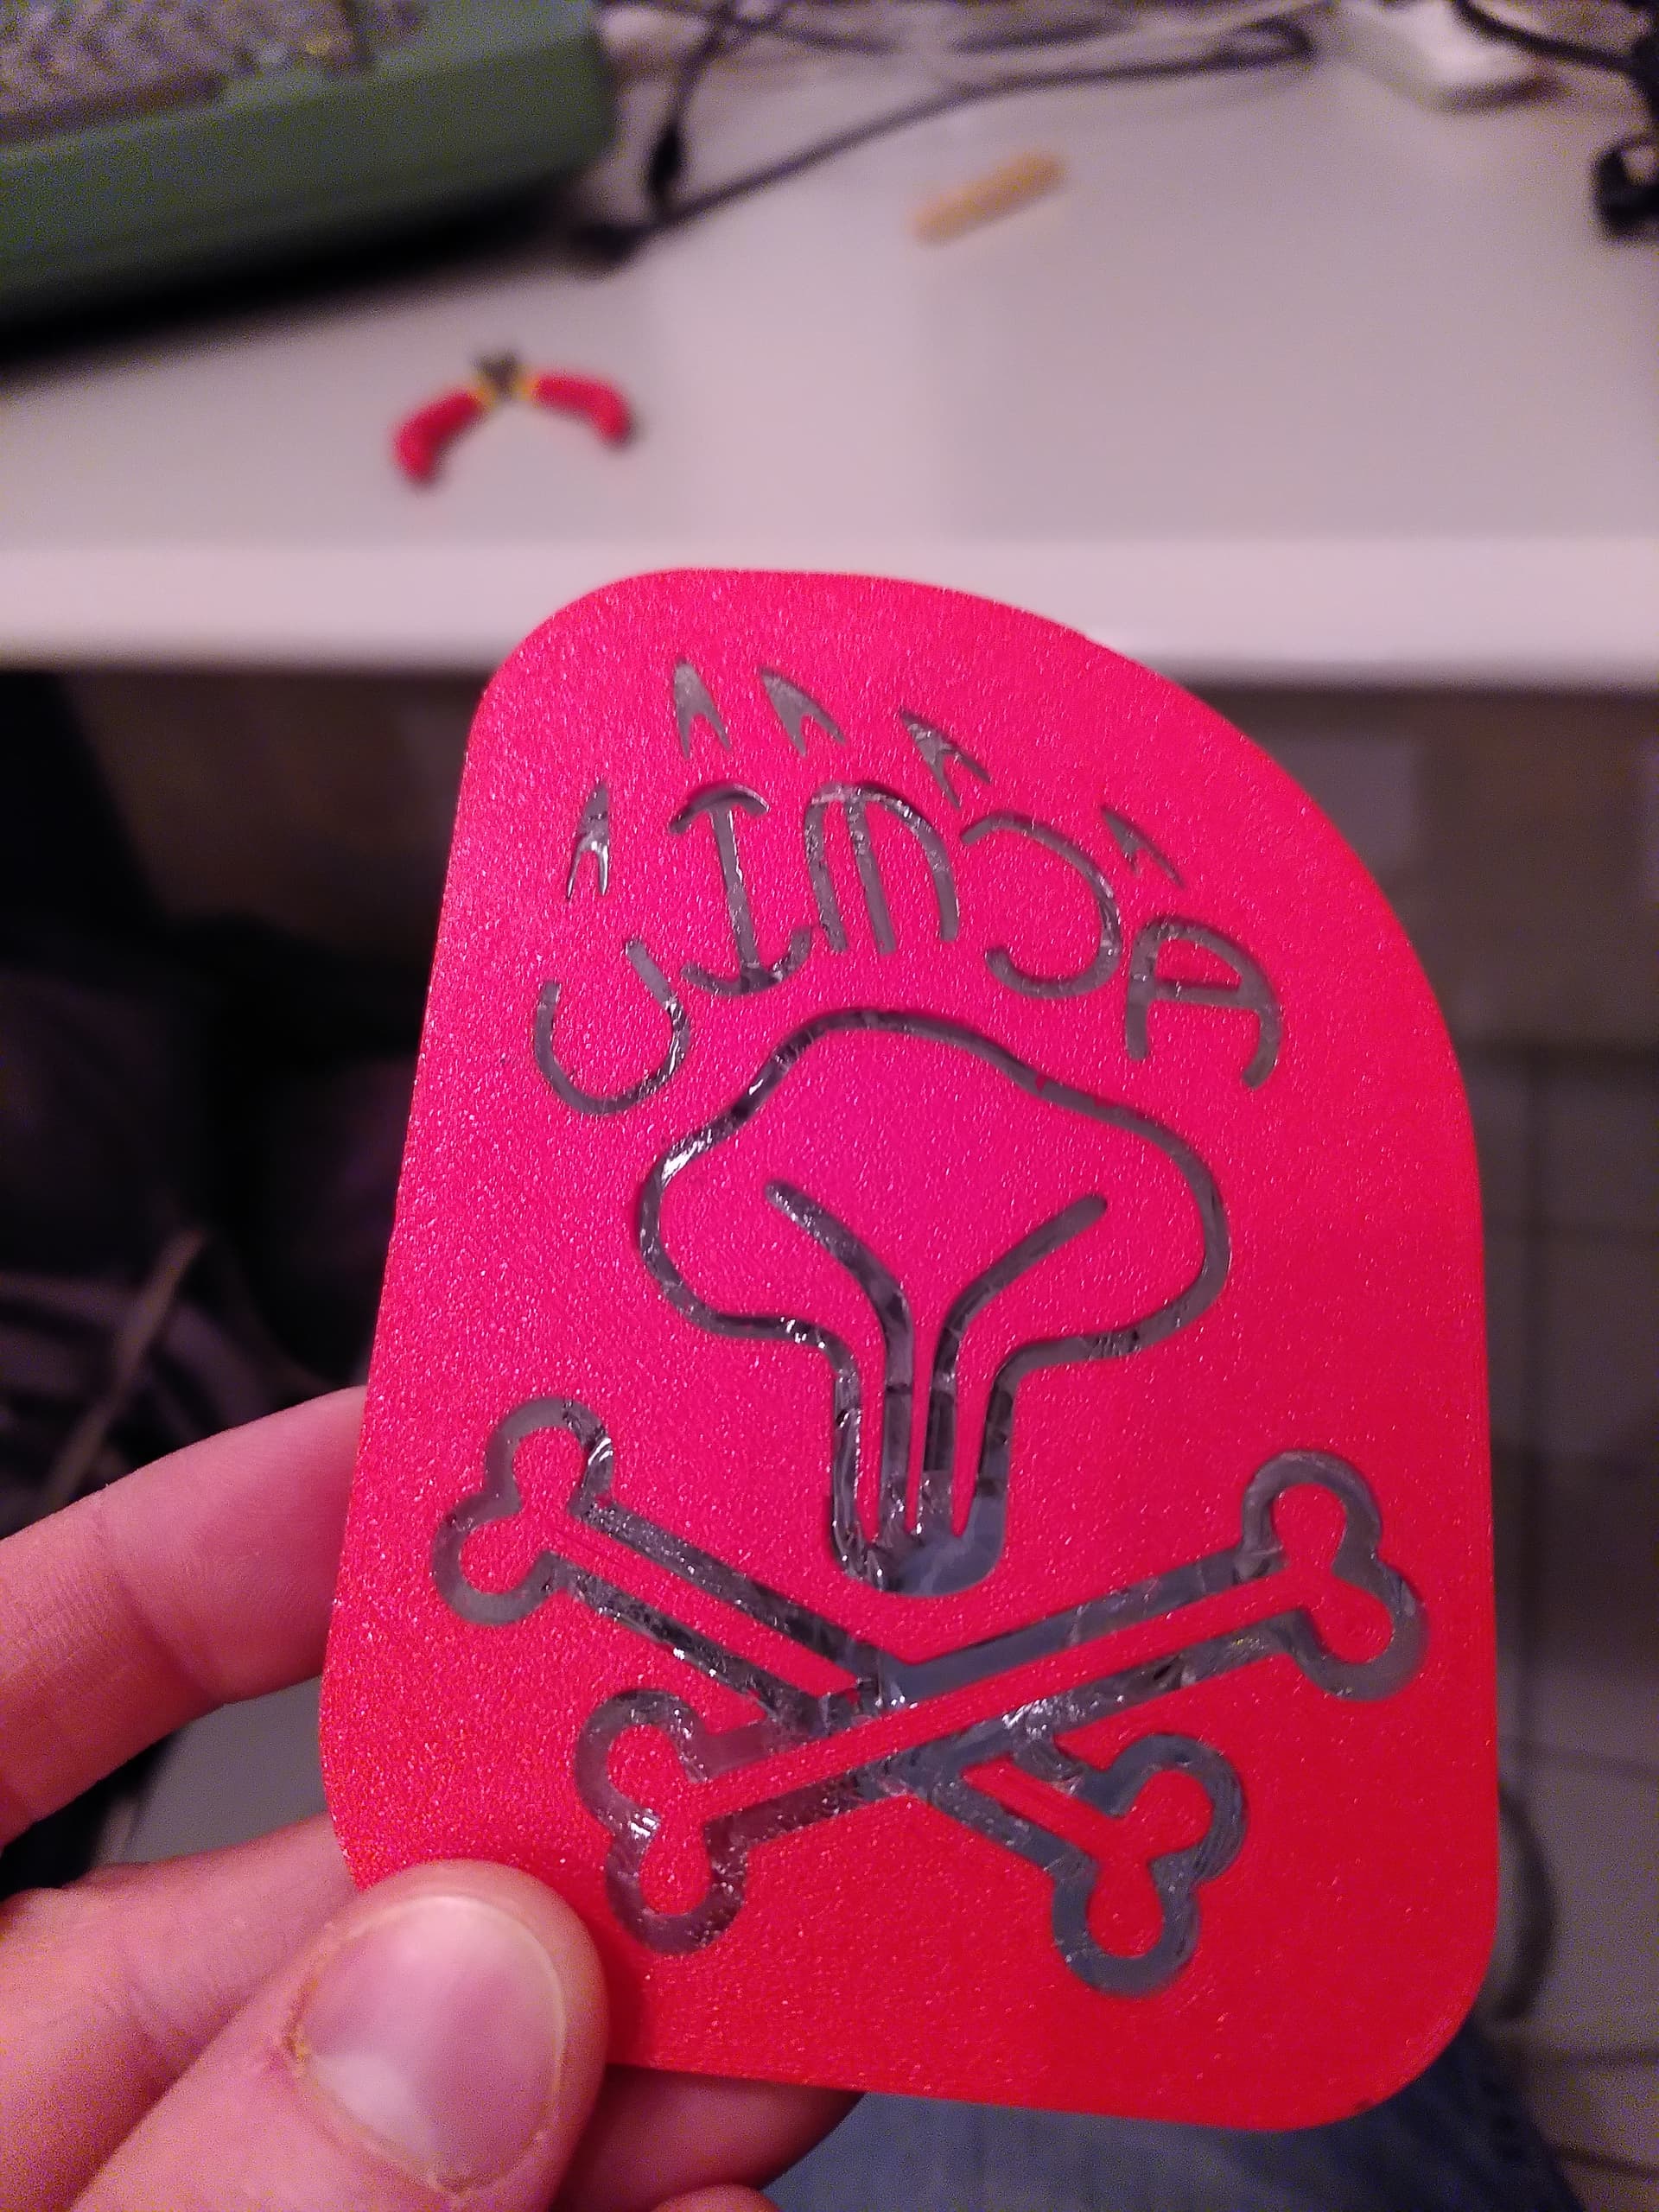
The resin sticks to the PEI sheet too strongly. In our test print parts of the resin ripped out of the print when separating it from the plate with force.
To help with that, we paused the print after the first layer and brushed some silicon grease onto the plate as a sort of release agent. This however, caused additional problems with grease getting to places it was not supposed to. Plus it only sort of worked.
Now, where does that leave us? I now have a back plate that I’m happy to show off. Tomorrow my new mnt reform 2 is supposed to arrive. This one will be a production model, so my old lids won’t fit.
We are still working on re-drawing the lid from scratch in FreeCAD. Working off the .step models is hell.
We are already working on solutions to the resin vs PEI problem. Right now a model is curing which is using some MagiGoo as interface material. Let’s hope this works. I would really like to do another print before revision, so I can show off my new reform with a custom laptop lid!