The ortholinear mechanical keyboard was one of the major selling points that convinced me to purchase my Pocket Reform. Now that I’ve gotten my device more polished, I’ve started tuning the keyboard acoustics.
Many mechanical keyboards have aluminum frames, but the Pocket has a lot of empty space. This leads to keystrokes having a bit of a hollow echo. I found the ‘spring ping’ especially noticeable.
Goal
I’m aiming to reduce the ping by adding a lot of dampening to the key switches and keycaps, and to reduce the echo by adding foam around the bottom half of the case. I’m not aiming to change the sound of stem sliding against the housing, otherwise I would also do a more standard Choc tape mod.
Process
The easiest change is adding dampeners to the keycap stems. This is normally done with o-rings on MX style switches, but they are too thick for Choc switches and prevent the switch from fully seating on the stem. Instead, I found that people use orthodontic rubber bands.
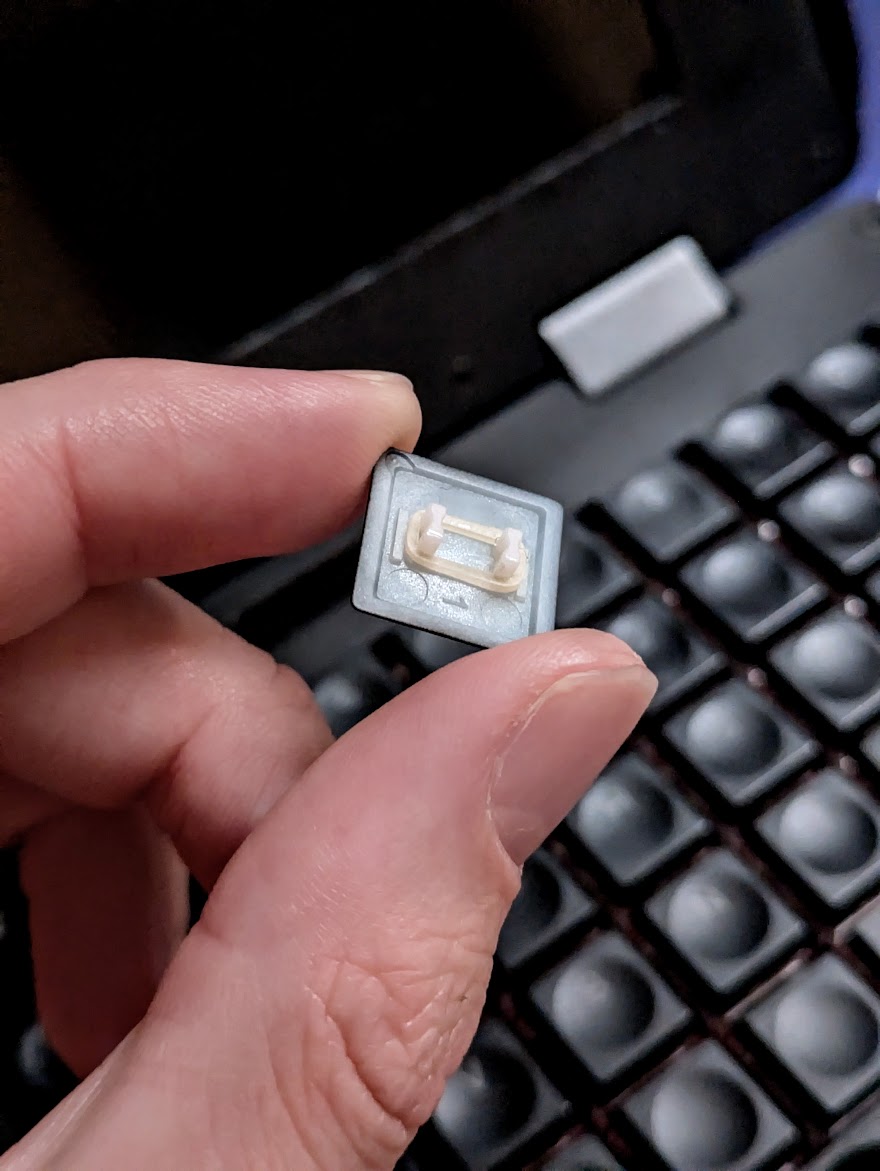
Braces flashbacks aside, they do not add to the keyboard height in any noticeable way, even when looking very carefully from the side.
I will say that the reform keycaps are designed with small raised bumpers that also seem to help with this issue more than other Choc keycaps I’ve used.
This change only helped a little so it was time to look elsewhere.
Disassembly
I was able to disassemble the switches without desoldering them by using this technique.
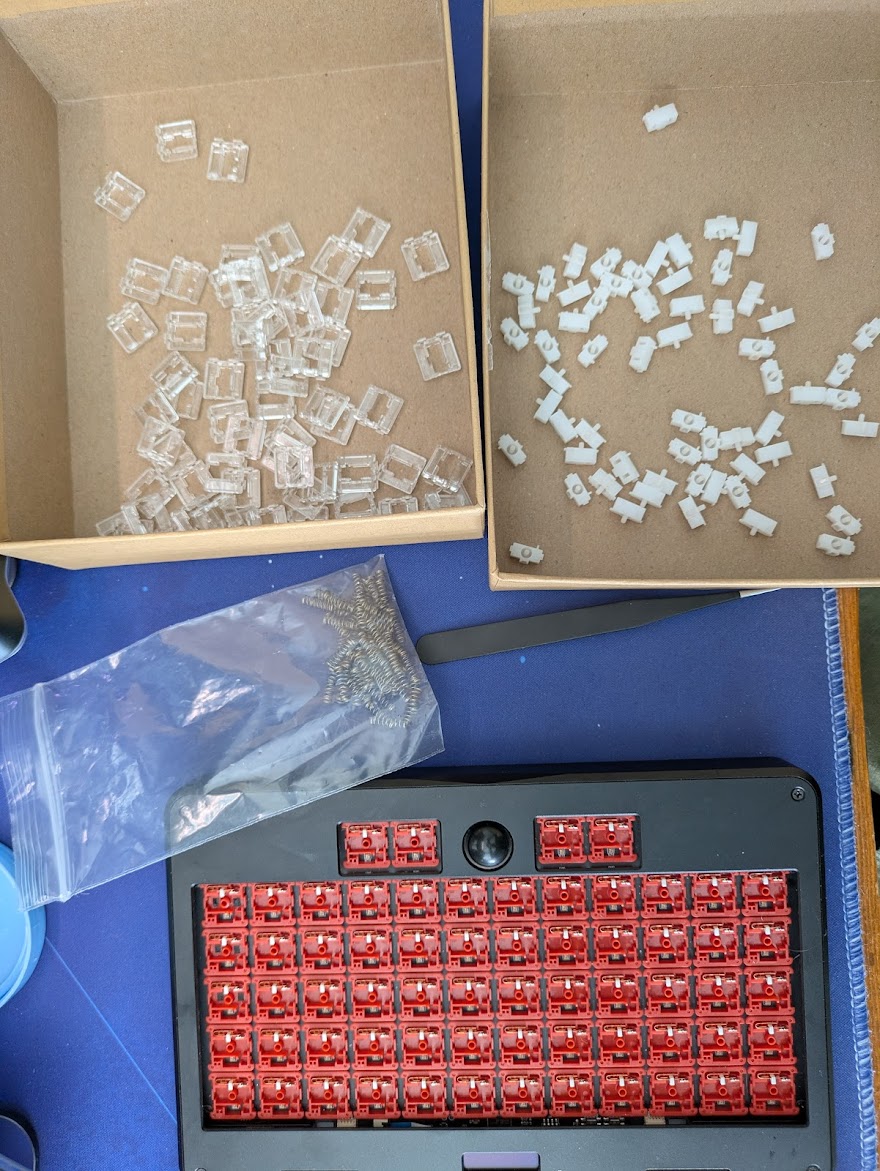
I disassembled and sorted the parts into piles. The screws went into a small bag to be bag lubed.
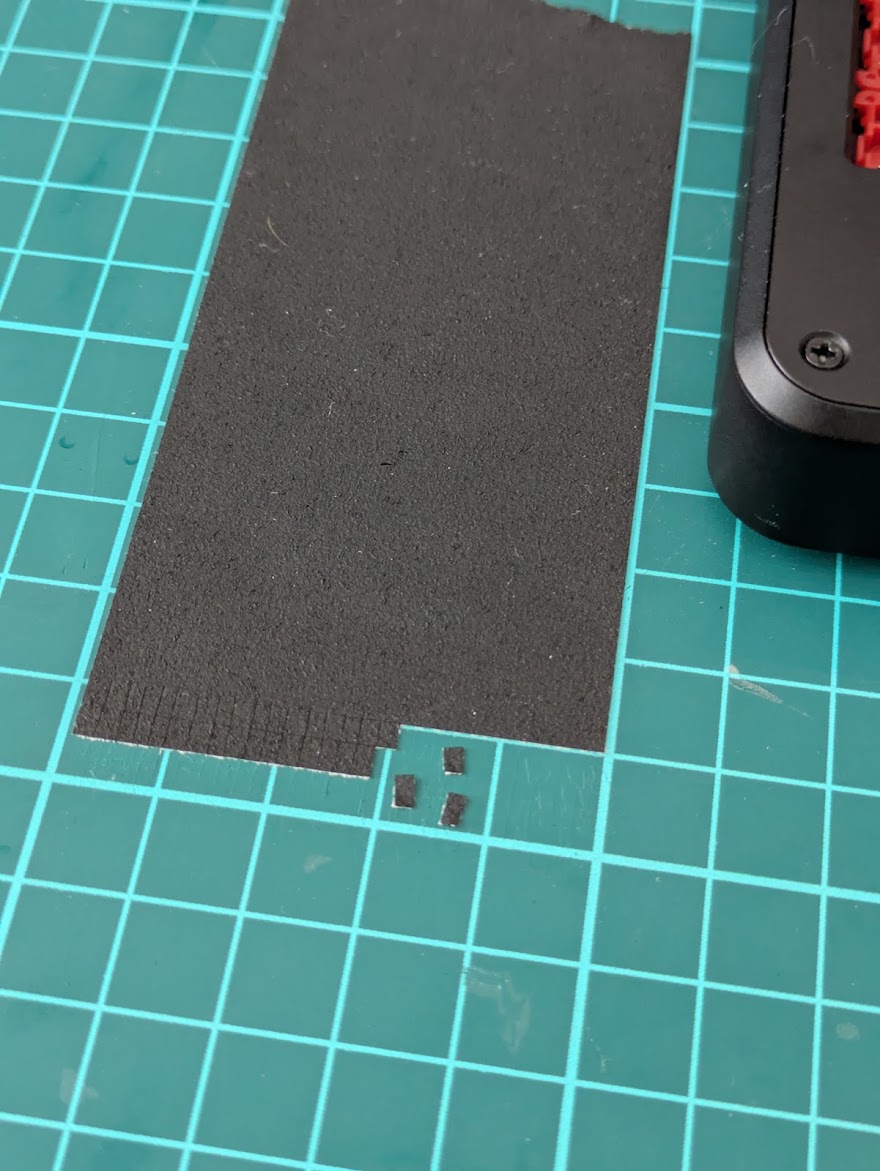
The main source of impact is when the switch stem bottoms out on the bottom of the housing. The sound is louder for ‘stronger’ typists. To mitigate this, I did a ‘Gaff Tape Mod’. Gaff tape is cut into small rectangles which are applied to the bottom of the housing where the stem makes impact.
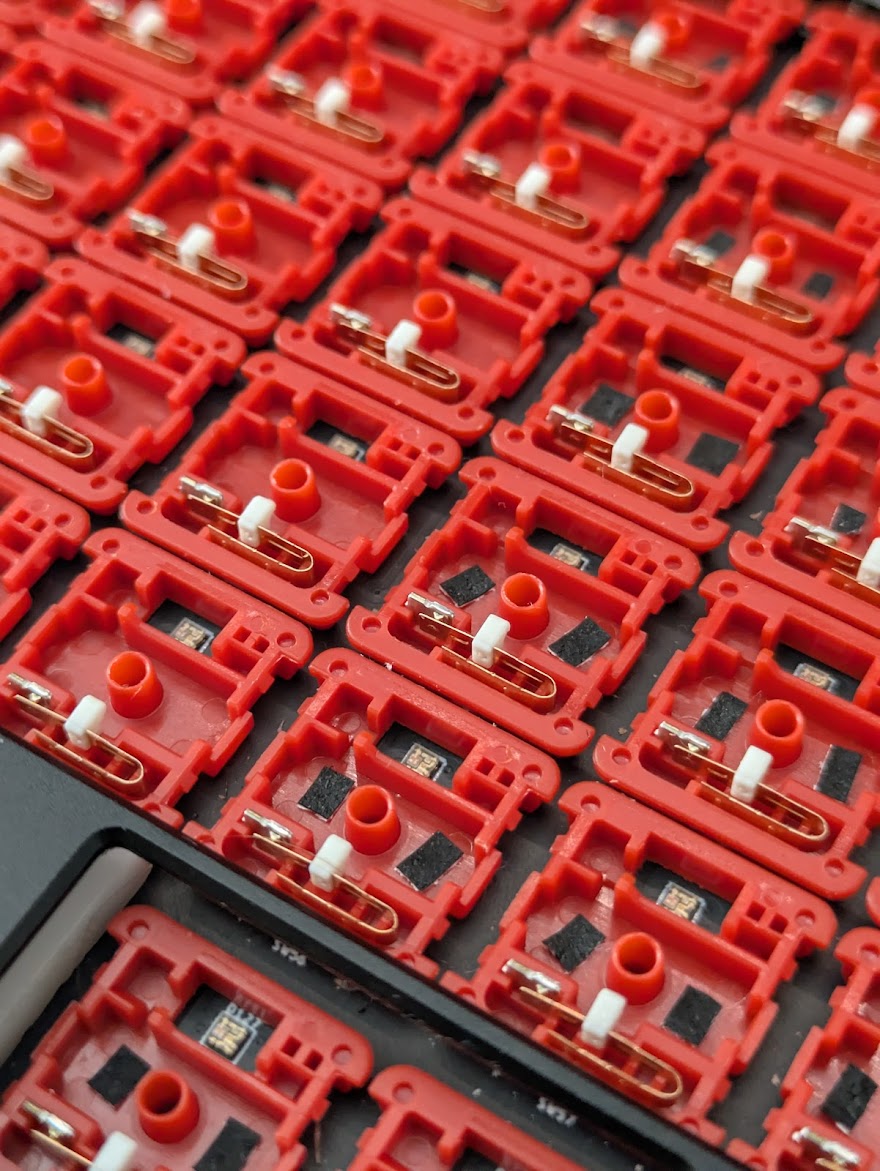
They aren’t perfectly even, but it is okay as long as they don’t interfere with the spring travel.
Next, I did a ‘donut lube’ mod, where a large amount of lube is applied to the bottom of the spring to help it stick to the base of the switch and usually alleviates the ‘spring ping’ issue.
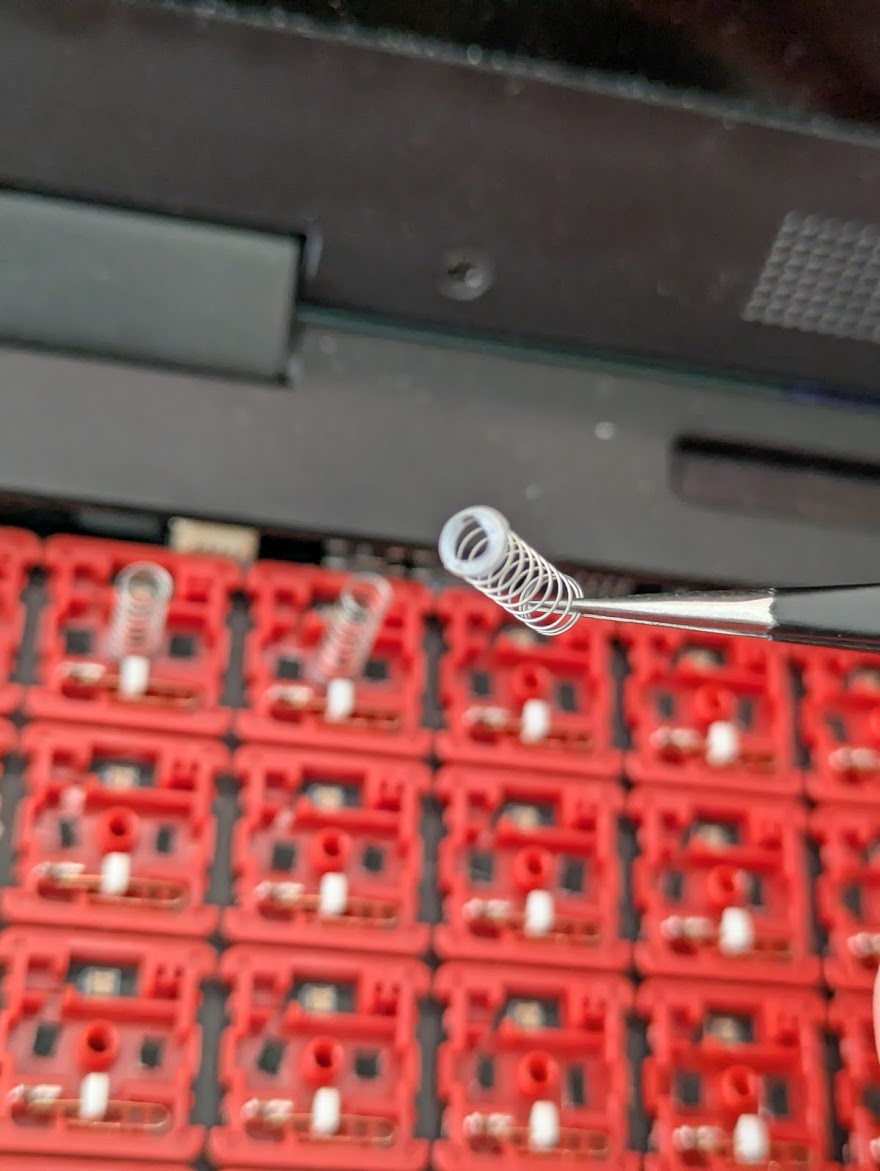
(it’s not in focus, but you get the point)
After this, my work with the switches was finished. I found reassembly was easiest working in rows, so that I wasn’t flicking switch stems while trying to place the housing back on top.
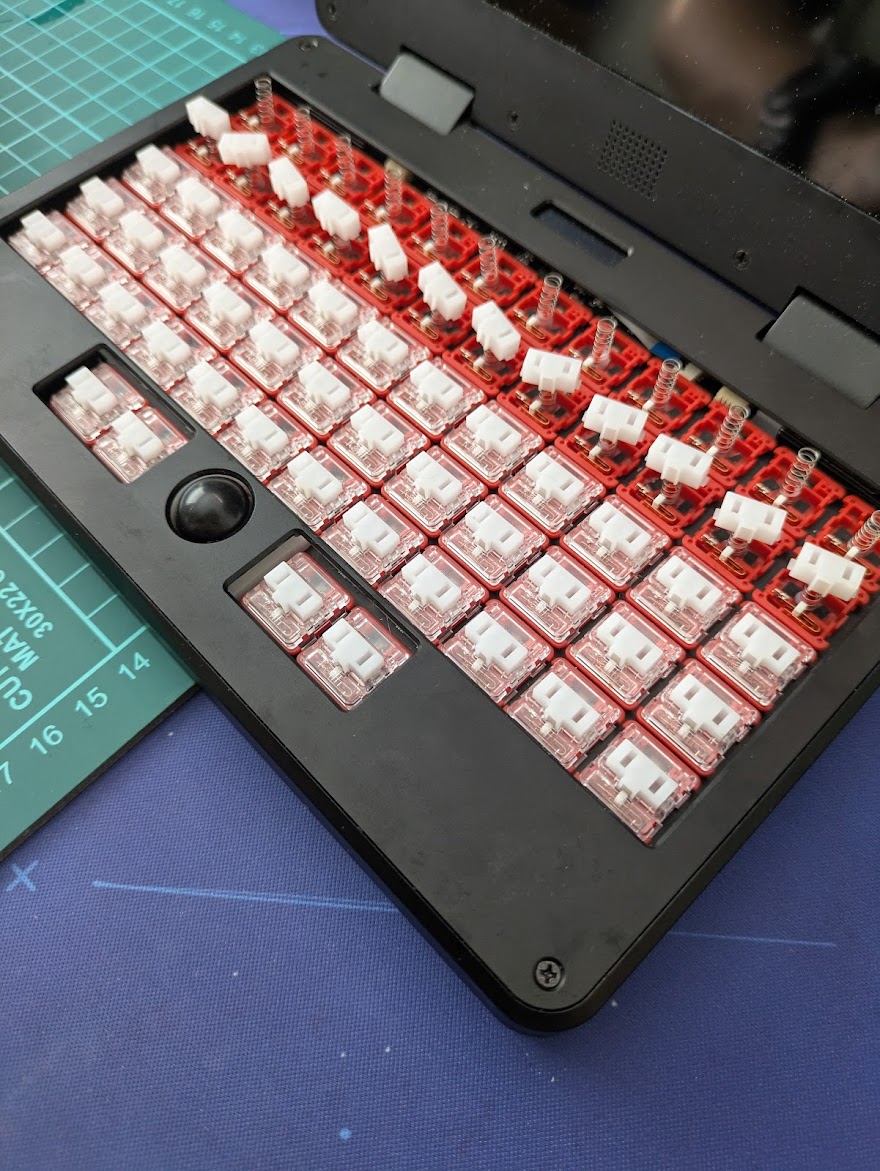
With the keycaps on, the spring ping is drastically reduced.
Future Work
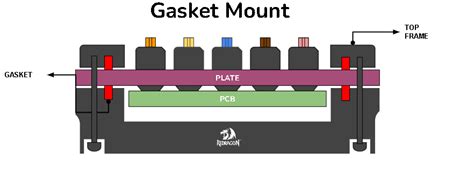
I have foam and some o-rings in the mail now. Next I will be adding the foam around the case to reduce the echo. The o rings will be used on the keyboard mount screws to act as simple gaskets, with the aim of making keys on the edge of the keyboard sound similar to keys in the middle.
More Mods and tutorials for the curious.
That’s it!
I’m curious to know what others think, and if anyone else has tried improving their Pocket Keyboard acoustics with any success.
