I had USB working great on 1.8. I followed these steps from the FB ZZ9000 page:
Step 1. Install Drivers and Package files.
==============================
-
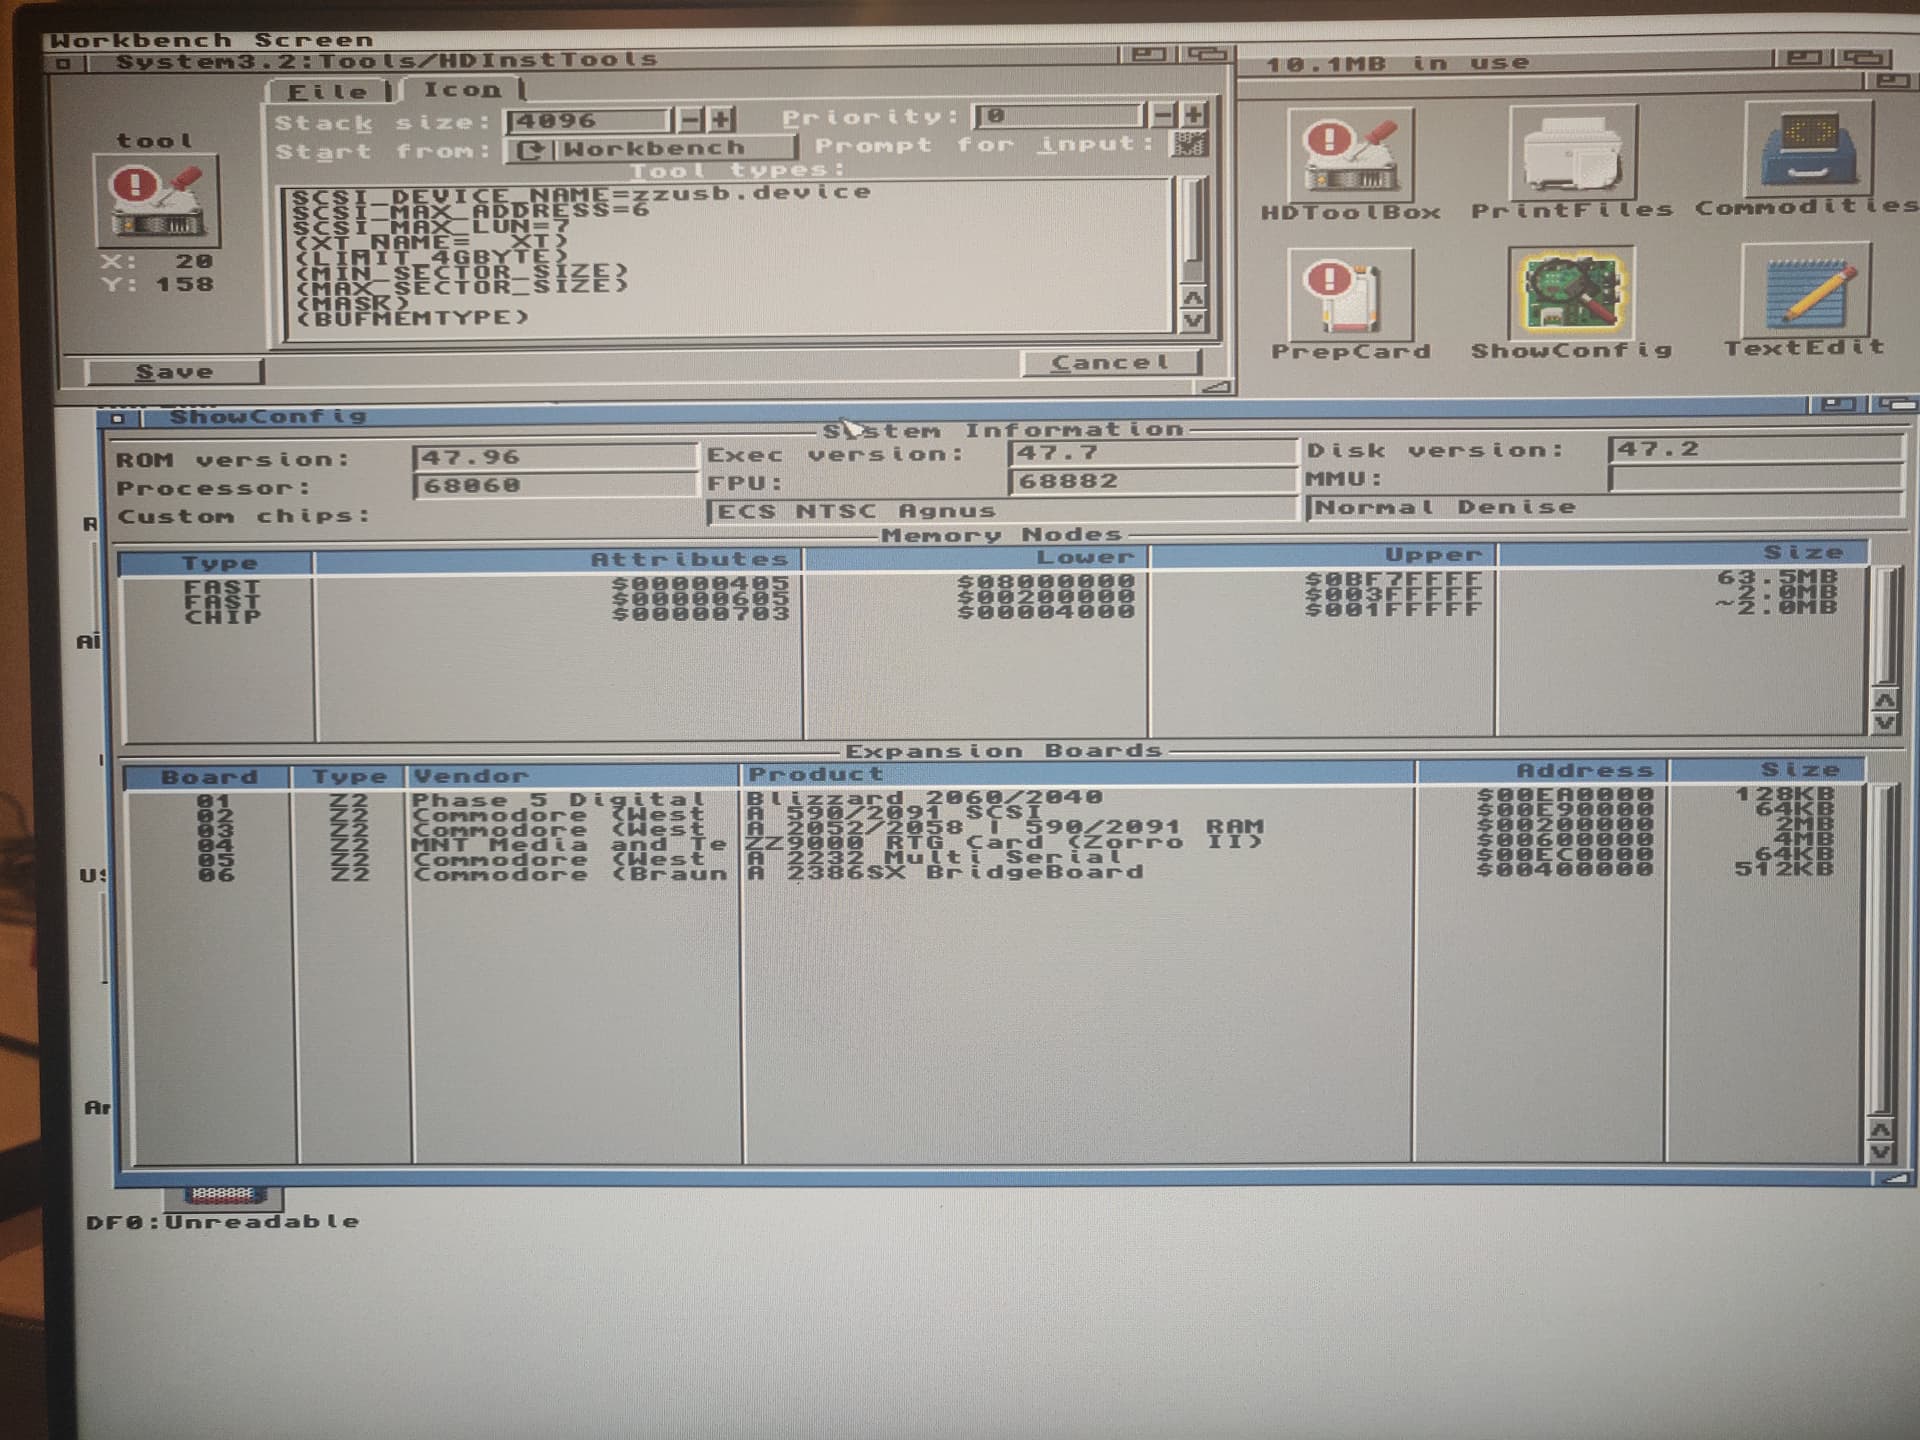
Install ZZ9000 drivers using MNT’s Installer. Answer “Yes” when asked to install the USB Storage Driver. This will copy a file to Devs:ZZ9000USBStorage.device.
-
Unpack Fat95.lha make sure to copy the files under “L” directory and “C” to Sys:L and Sys:C if these binaries are not already there. You’ll need specifically L:fat95 to be present on your system.
Step 2. Create a Mountlist
====================
-
Based on the Fat95 package, copy one of the mount files MS0 / MS1 and rename it to USB0 (for example).
-
Using a text Editor modify the mount list as follows (note I modified MS1 for testing):
/* MS1: fat95 PC file system for floppy #1 */
/* $VER: fat95 file system 3.06 (08-Aug-2002) by Torsten Jager */
FileSystem = L:fat95
Device = ZZ9000USBStorage.device
Unit = 0 /* change drive number here */
Flags = 0
LowCyl = 0
HighCyl = 0
Surfaces = 0 /* bootblock values have priority over these */
BlocksPerTrack = 1
Buffers = 20
BufMemType = 1
BootPri = 0
Stacksize = 4096
Priority = 5
GlobVec = -1
DosType = 0x46415401 /* enable ETD commands */
Save the file and exit the editor.
**Note.- Do not copy it over SYS:Devs/DOS drivers, since it can crash the computer at boot time. See step 5 below, and “7. Notes and Limitations” too.
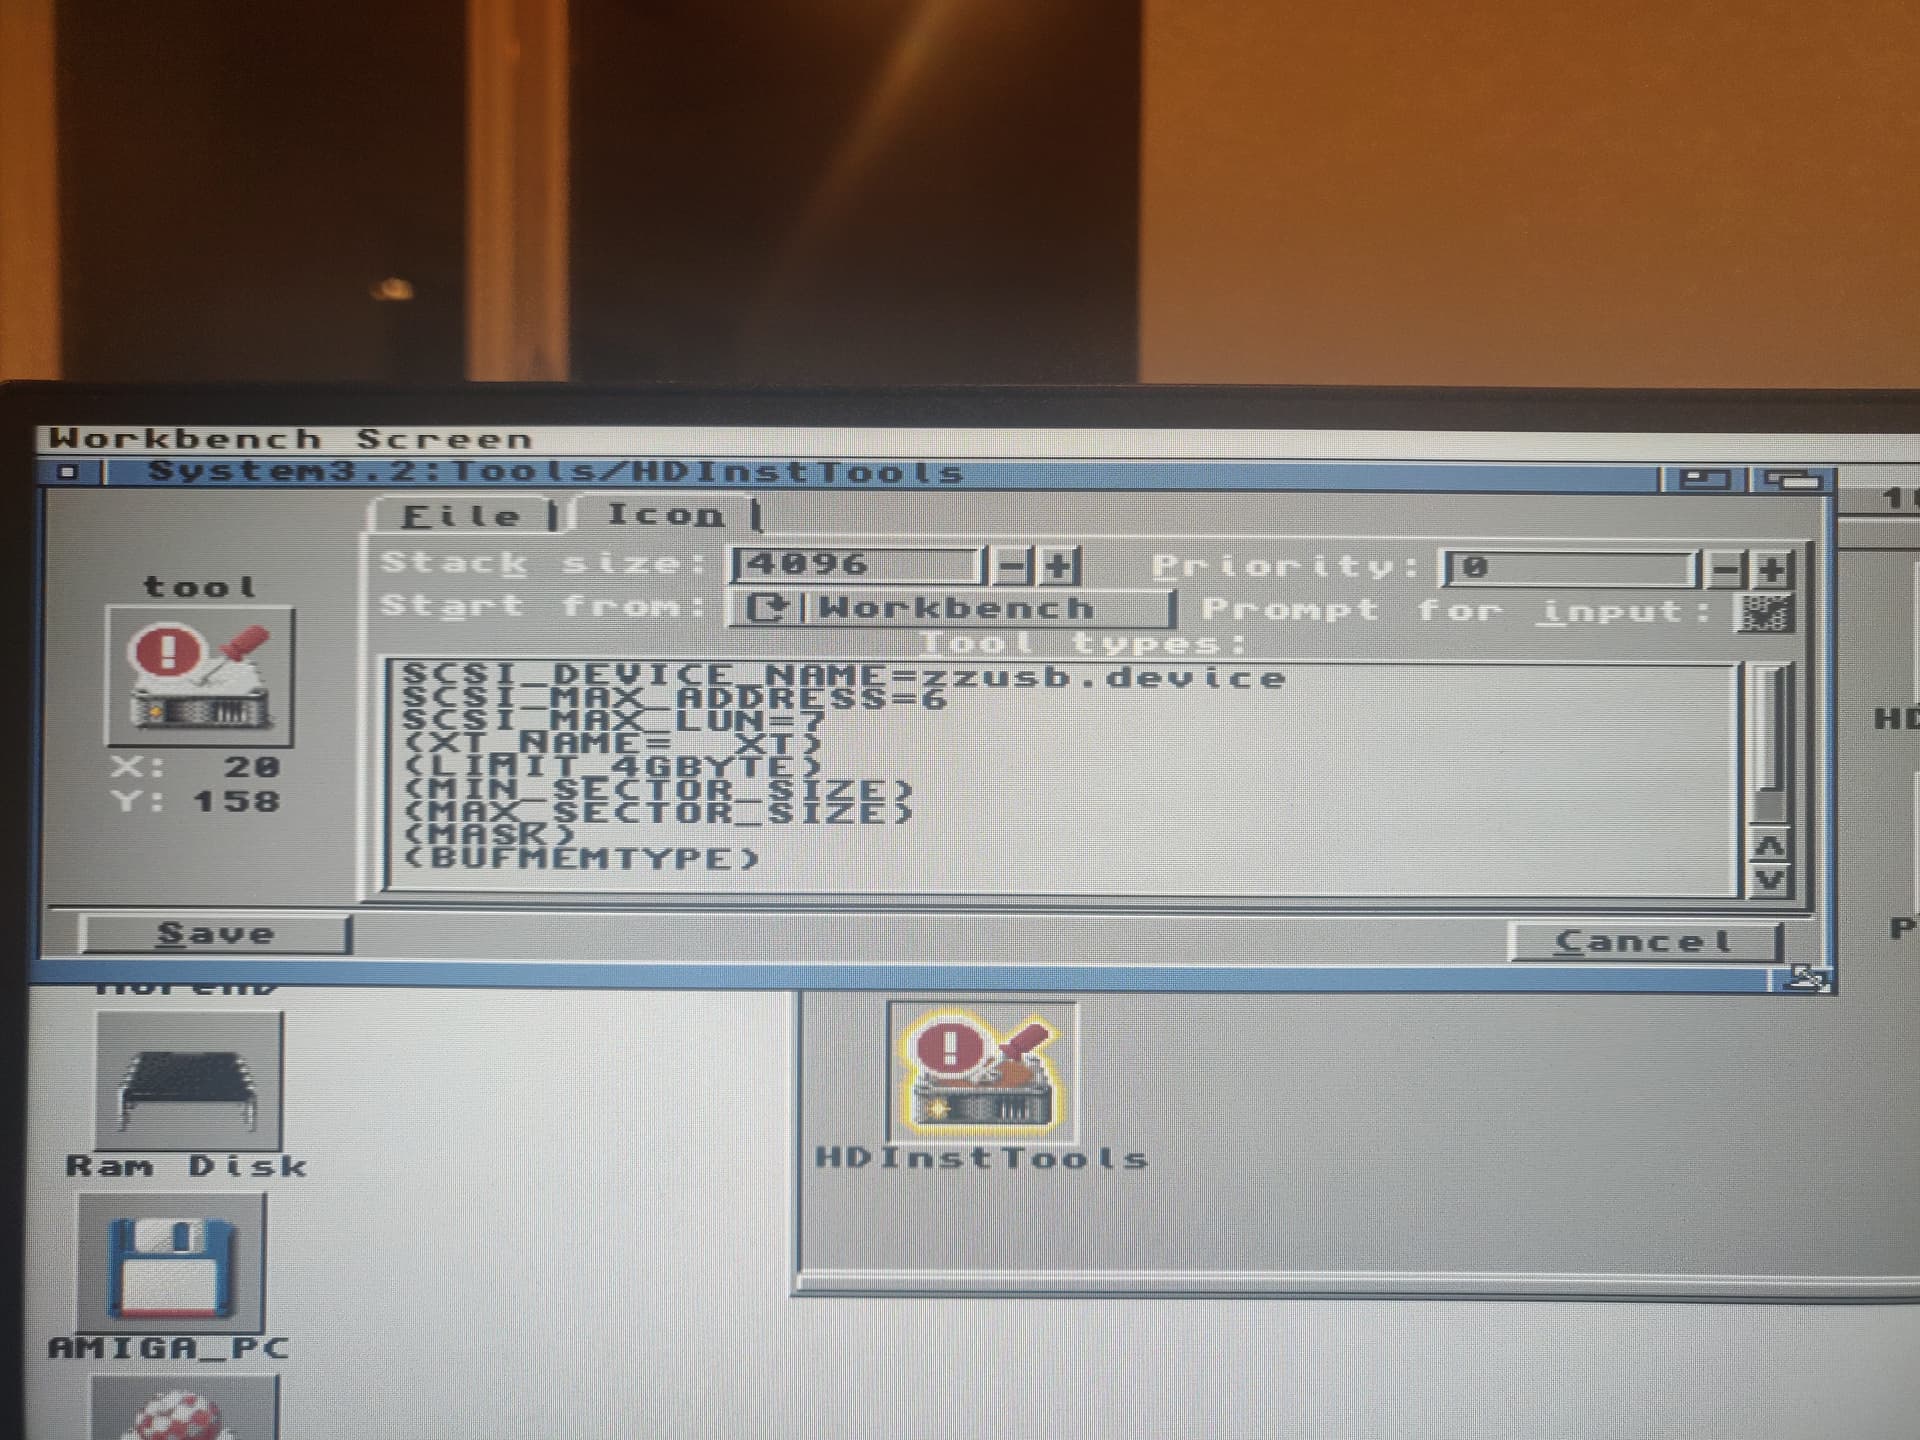
Edit the Icon Tooltypes under “Icon” tab and add the following entries:
Activate=1
Device=ZZ9000USBStorage.device
Unit=0
L:fat95
Click [save], to save the Tooltypes you just set.
Step 3. Format and Partition the USB
============================
-
Format a USB flash drive with the following specs.
-
Size: 4 GB (max).
-
FAT16 or FAT32.- both are supported.
-
If you have higher capacity USB flash disks only, execute the following procedure to delete its existing partition and create a 4 GB one.
Press Windows+R to open Run in a command prompt window.
DISKPART ↵
DISKPART> list disk ↵
Disk ### Status Size Free Dyn Gpt
Disk 0 Online 40 GB 0 B
Disk 1 Online 7538 MB 0 B
Your USB is Disk 1 (7538 MB), select it:
DISKPART> select disk 1 ↵
Disk 1 is now the selected disk.
DISKPART> list part
Partition ### Type Size Offset
Partition 1 Primary 500 MB 1024 KB
DISKPART> clean ↵
DiskPart succeeded in cleaning the disk.
resize USB to 4000MB
DISKPART> create part primary size=4000
DiskPart succeeded in creating the specified partition.
DISKPART> active ↵
DiskPart marked the current partition as active.
Step 4. Format the USB flash.
======================
**(You can use Linux / OS X if you want when formatting).
Step 5. Power Down the Amiga
=======================
-
Insert the newly formatted USB in the USB slot of the ZZ9000 card.
-
Power Up / Boot the Amiga.
-
Once it’s up and running double click on the USB0 device mount list you created in step 2.
-
A new drive will pop-up in Workbench.
Step 6.
======
- Additional Notes and Limitations.
==========================
-
Note.- Remember to power down / power up the Amiga every time you need to disconnect or reconnect the USB flash drive. Do not attempt to hot swap your USB device.
-
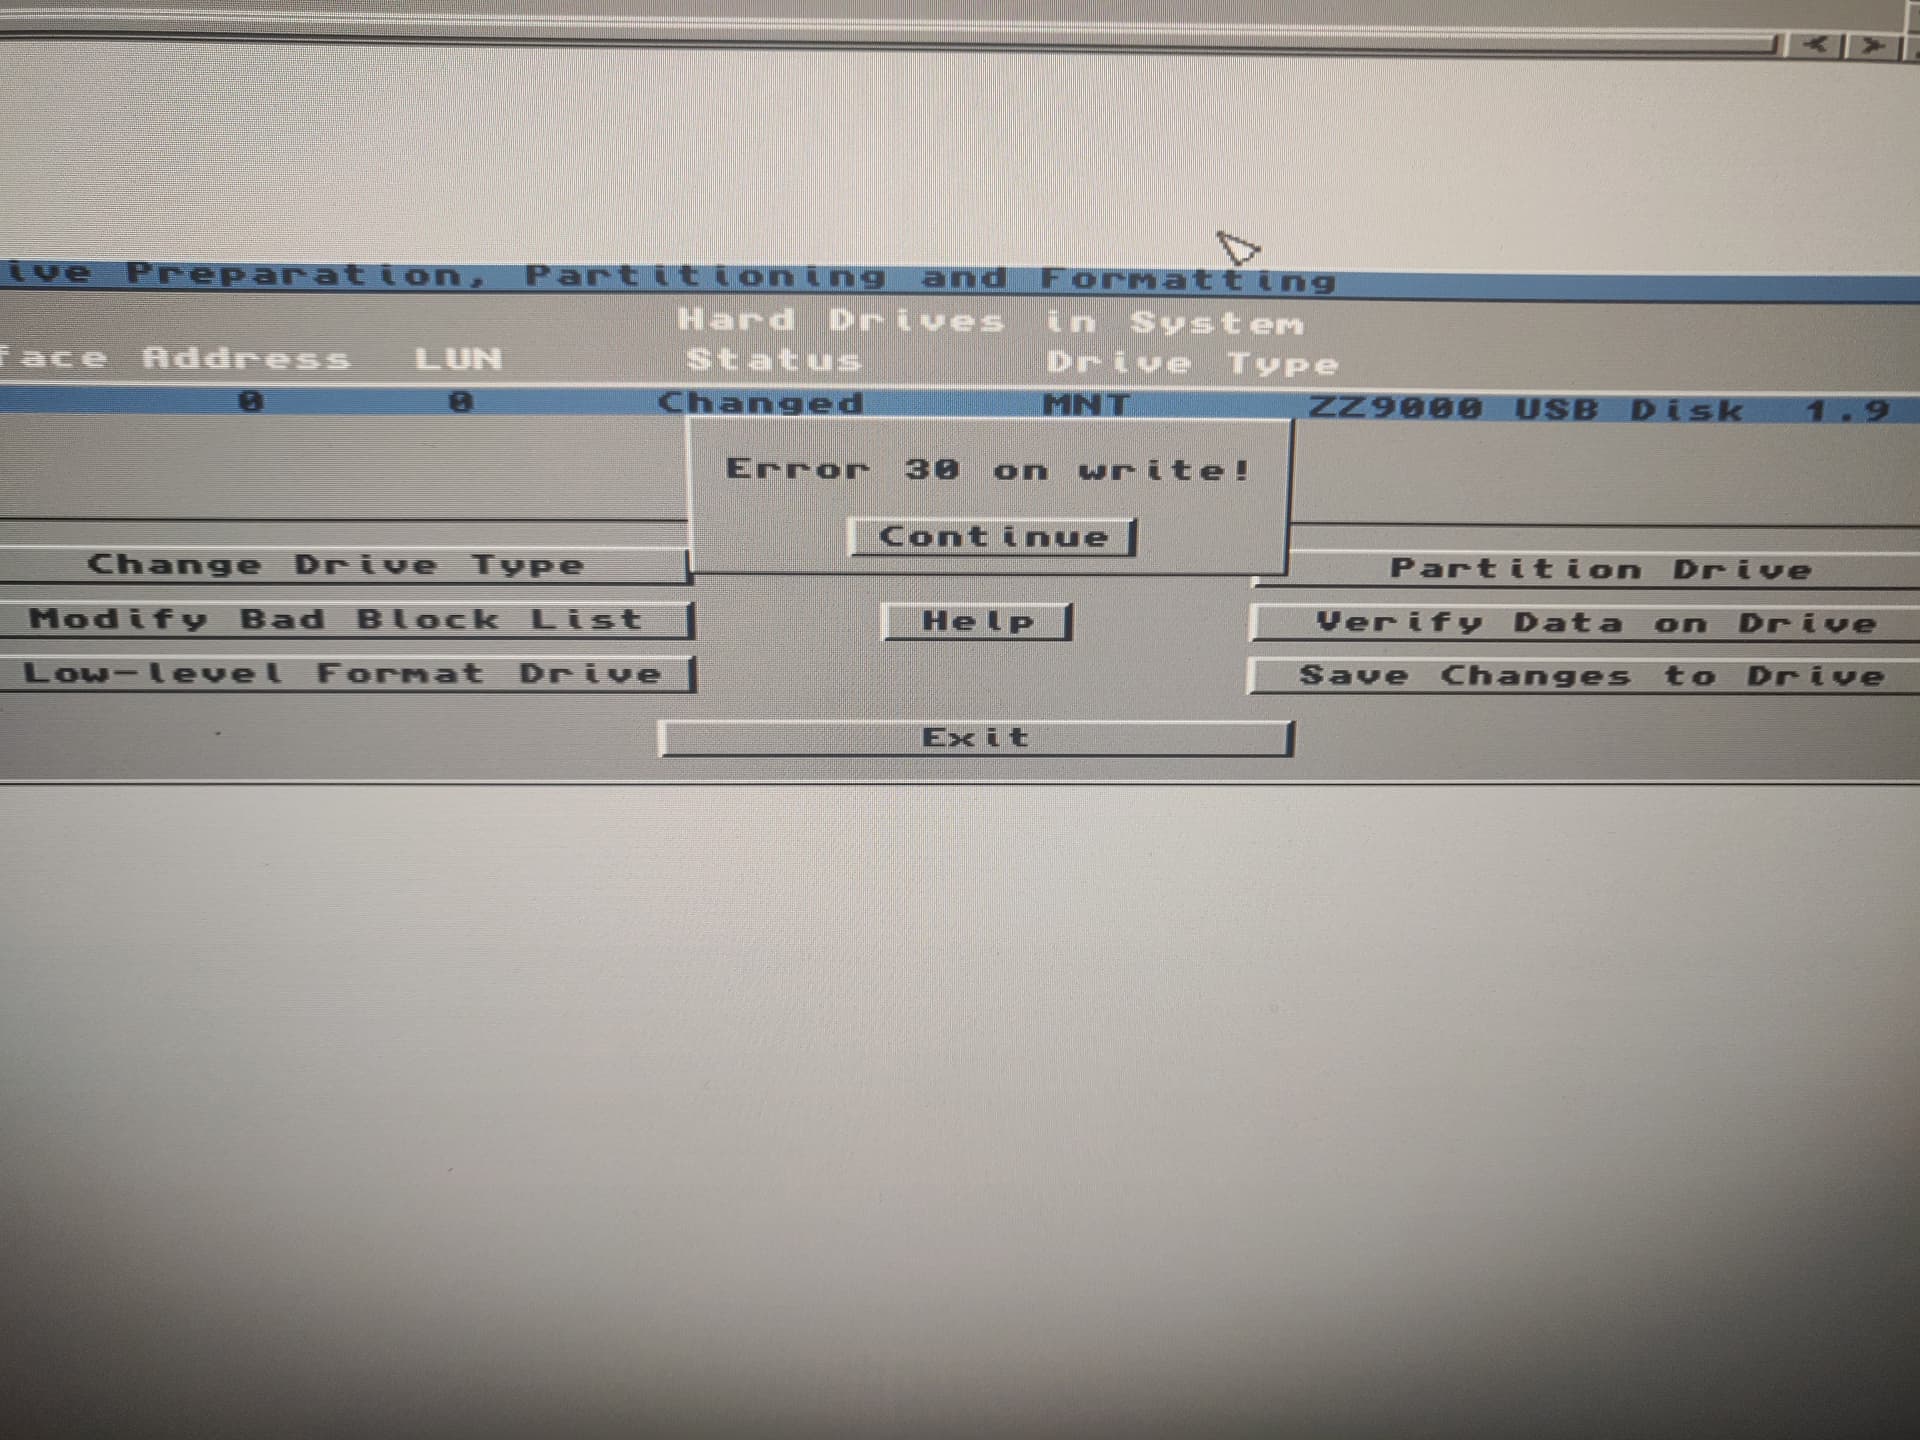
I’ve noticed that using Fat95 I’m limited to use 4GB partitions only. Using 8 GB partitions cause the system to get a Software Failure or apparently “mounting it” without popping any icon at all.