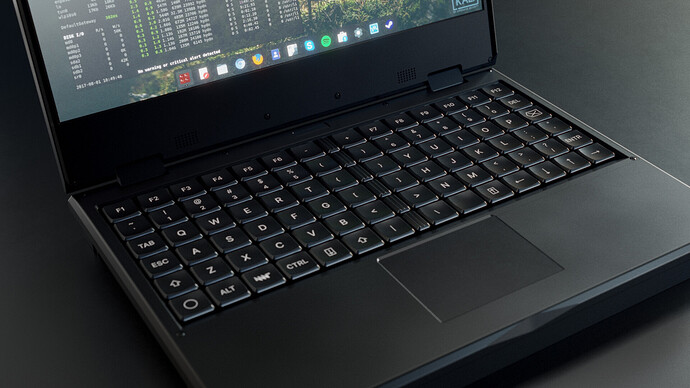
Hey folks! Wanted to give a quick update on things - Seb got prototypes working & shipped out to me last week, and I’ve been building out some firmware features in QMK. The keyboard uses the RP2040 chip as a controller, the same Kailh PG1350/choc switches, and has RGB LEDs for each key, so the options are endless, albeit battery-draining  (they can all be disabled via firmware to save on battery, though). It connects via the same connectors as the OG keyboard (UART & USB), and can use the same OLED screen.
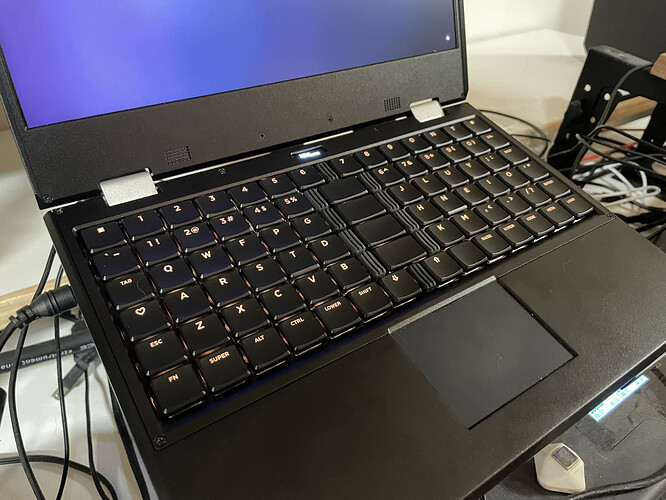
The keycaps I use here are MBK Legend Glow by FK. This is the configuration I set up when I initially built things - the number keys at the top are F keys:
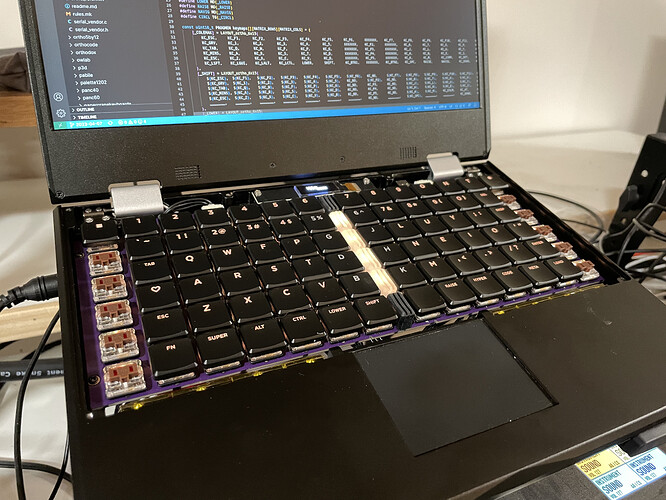
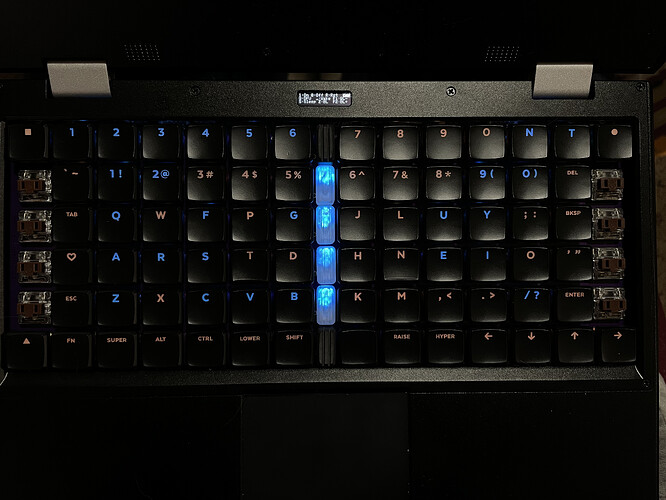
Each row allows for either a 1.5u key, or two 1u keys in the center. Both configurations are separated by a little blocker that can be screwed into the PCB - the ones we have here were 3D-printed by Seb and the clear ones allow for the light from the LEDs to be passed through pretty well. Eventually I moved things around to this (my hands were too separated in the initial layout), and swapped out some of the black blockers for the clear ones:
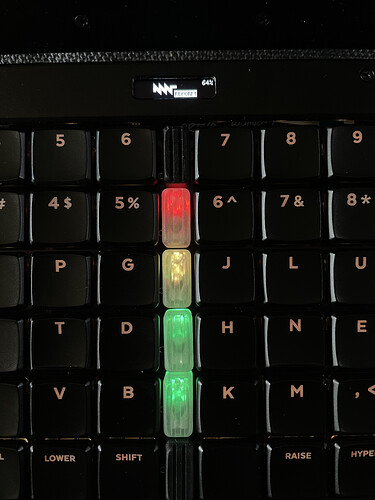
Interestingly, the addition of the blockers in the center allow this hand-spacing to be very similar to the traditional 19mm-spacing that you might be used to on a MX-style Planck/Preonic/other ortholinear board. It also allows us to use the center LEDs as a battery meter 
Right now, it’s green if it’s being charged & yellow otherwise, and turns red as your battery is drained. The firmware is where I’ve been having the most fun - I’ve gotten most of the LPC/system control functionality ported to QMK, and have a neat setup with the “Circle” menu, where the blockers turn blue & each key that does something also turns blue - I accidentally reset things too many times during testing, and wanted to try to make it super obvious 
I’m also displaying the battery percentage while the keyboard is active (I don’t have the updated packages that show it via the OS installed yet), where it inverts the background on odd numbers to avoid burn-in.
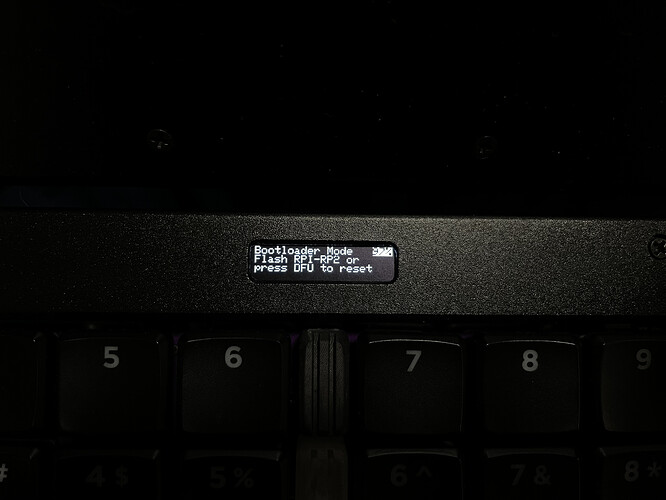
Obviously all of this will be customizable in QMK, and hopefully what I’m writing will make it easier to do so. You can enter the keyboard’s DFU/bootloader mode via Circle+Q, where it turns off the LEDs and gives you this nice little message:
Flashing the firmware on the reform itself is pretty easy via the :flash command in QMK, but the RP2040’s bootloader also accepts a file copied into a /media/*/RPI-RP2 drive, and automatically resets the keyboard once it’s completed.
There’s some basic power-saving right now - everything times out and turns off after a while, but I need to do some more research & testing on how the consumption can be reduced further.
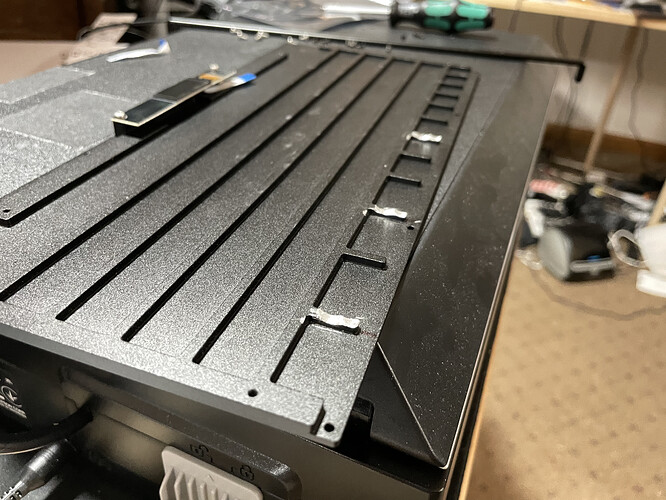
The keyboard fits in the laptop without any modifications, but if you have an early keyboard case with these vertical supports, you’ll have to file them down, as the keyswitch nibs & pins collide with them. I believe this was adjusted in later revisions (Seb’s keyboard purchased later doesn’t have them).
We’ll have all the design files & the firmware up pretty soon, but if you would be interested in purchasing a fully assembled one, fill out this form! It collects your email & country you’d like it shipped to, as both the number of folks interested & their locations may affect our plans:
