Just wanted to start a thread where people can share photos of any mods they’ve made to their Reform enclosures or related parts (don’t have mine yet so haven’t done it, but looking for inspiration from the community)
3 Likes
Not quite a case mod per se, but took all the internal cables and did some cable lacing on them to bundle them, and for the aesthetic.

7 Likes
Bumping this up. Has anyone attempted custom screen back mods or custom printed enclosure parts / designs / images / colors?
These probably count, right?
1 Like
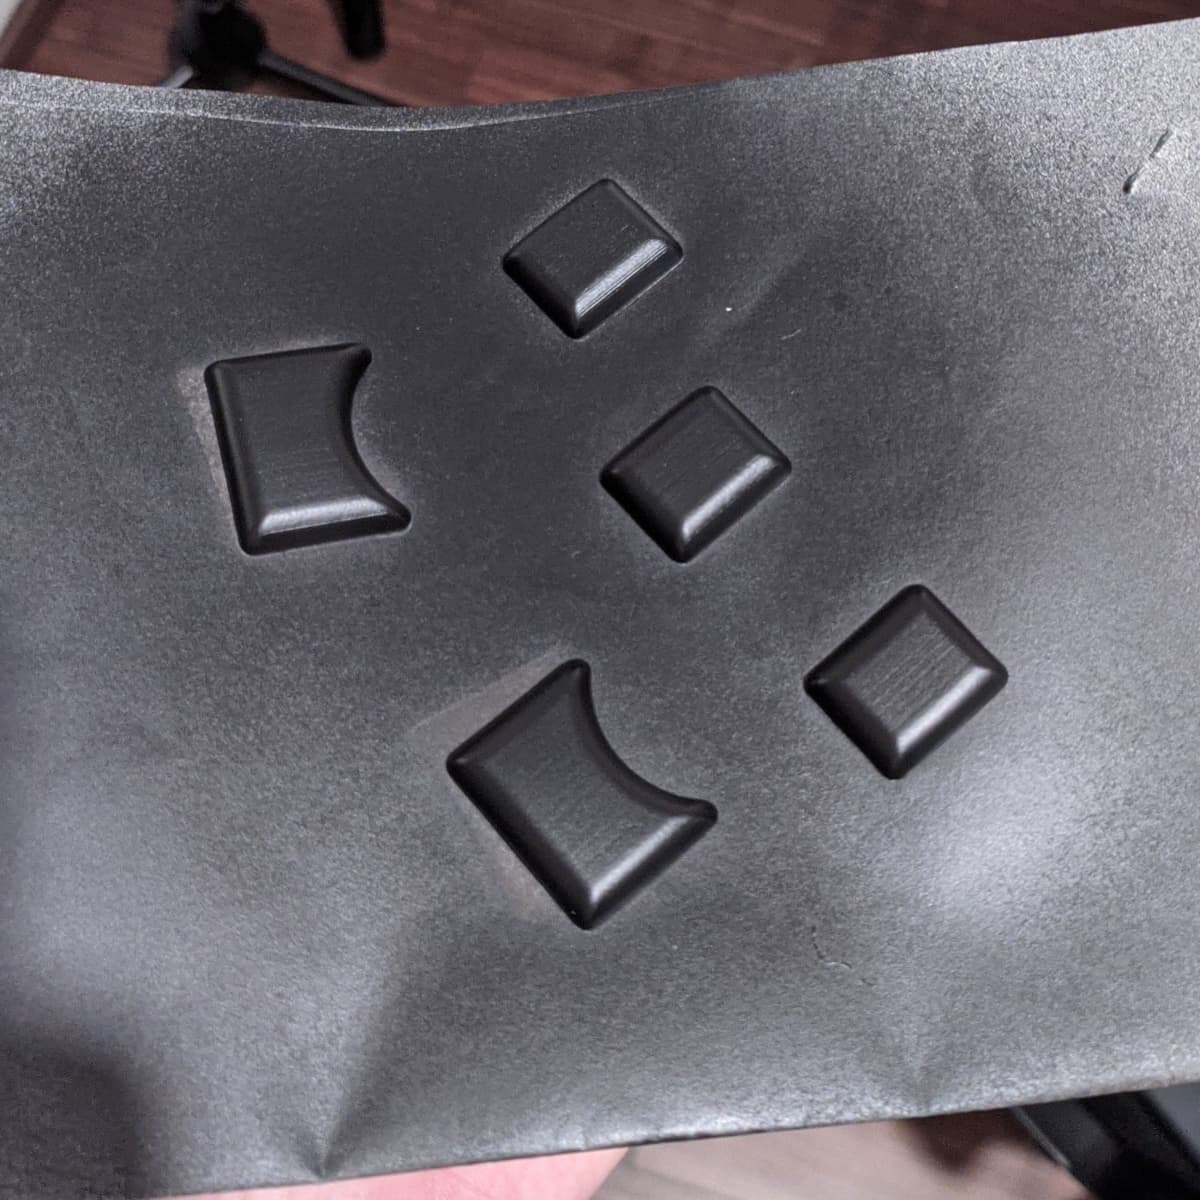
I drilled countersinks into my steel side panels. I did it very poorly (with a wood drillbit!) but I’m happy with the result. The screws are flush with the surface now.
When I received my unit in June and installed the steel panels, I sanded the edges a bit as well for a better fit, to match the rounded corners and height of the slots in the Reform main box.
3 Likes
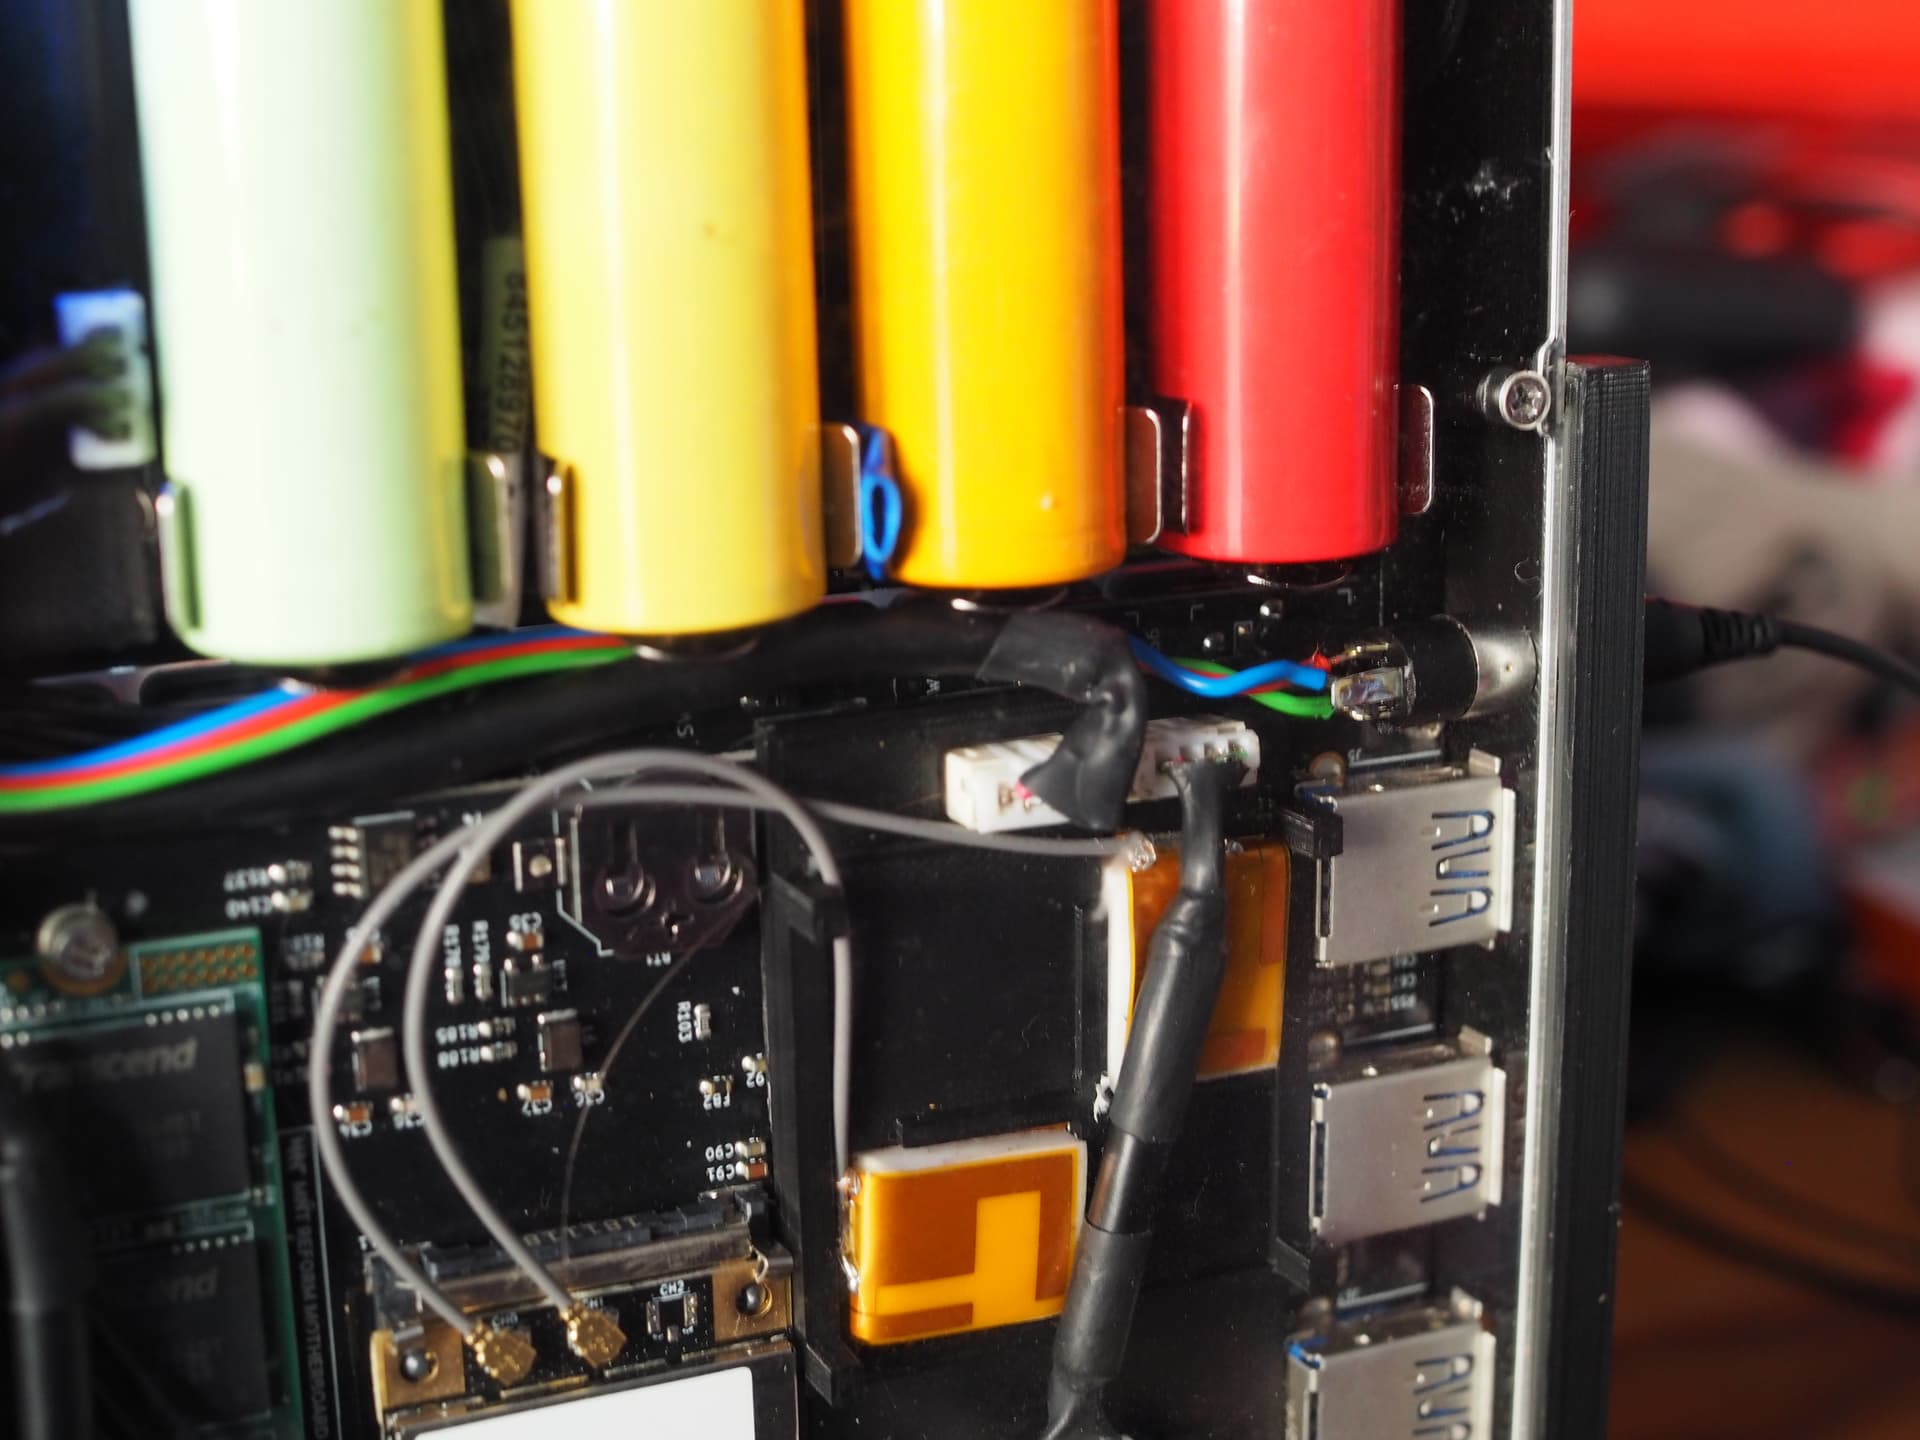
You should definitely look a joschs 3d printed stand and beautiful rainbow batteries: Finally: Rainbow battery sleeves (and another 3D printed side-panel)
Thank you! Also maybe useful is adding an LTE modem, a USB UART serial adapter and other usb devices (bluetooth audio in my case): Adding LTE Modem and other USB devices
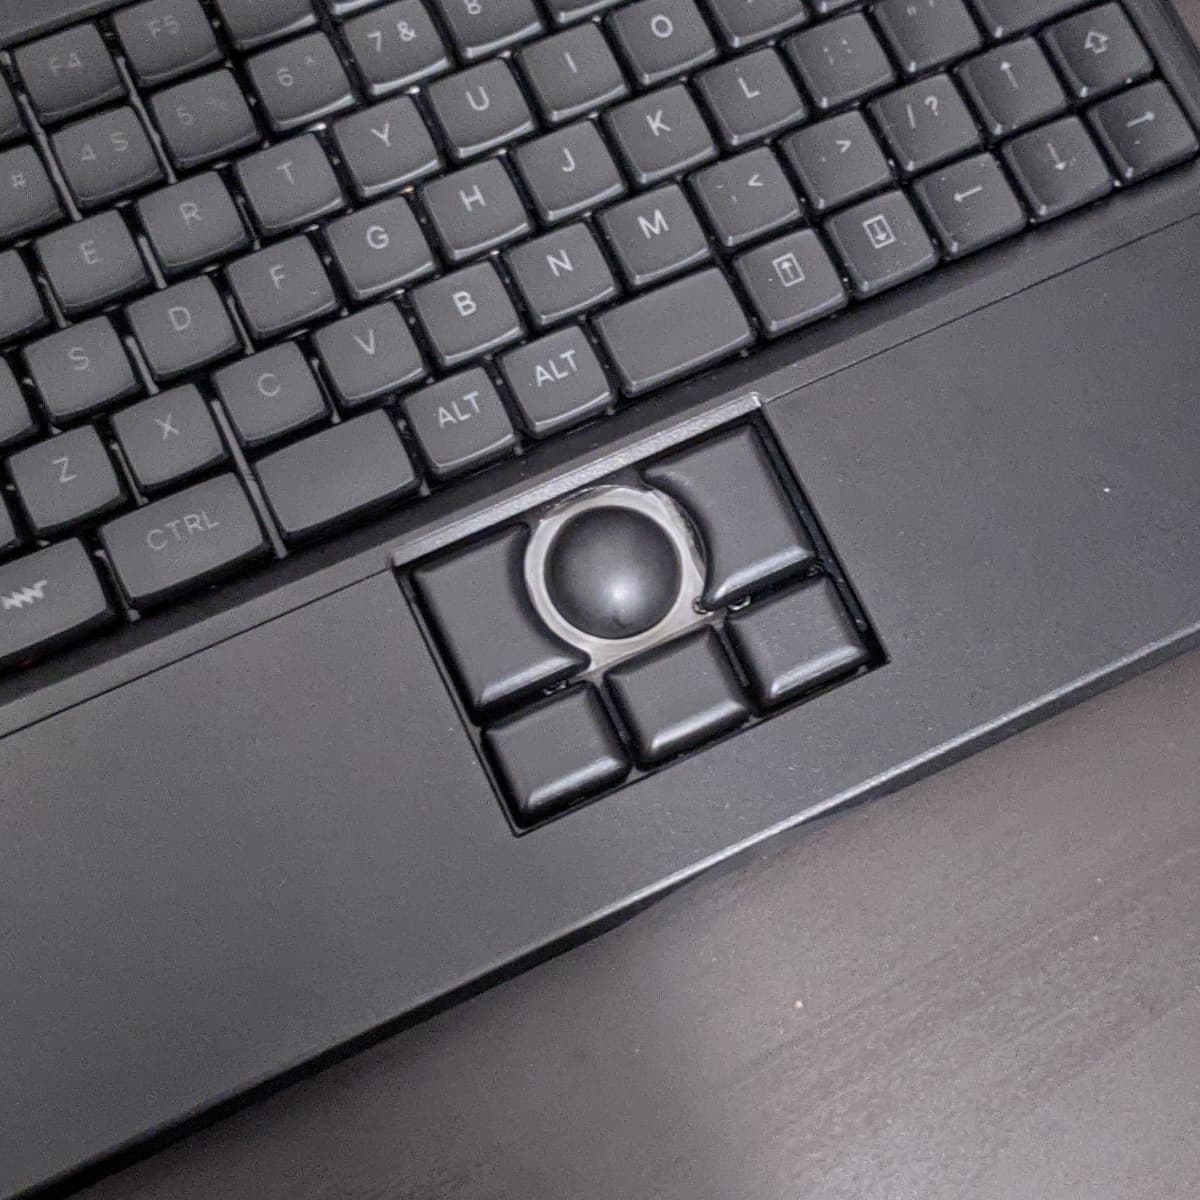
Today I added another small thing to my reform: a second 3.5 mm audio jack:
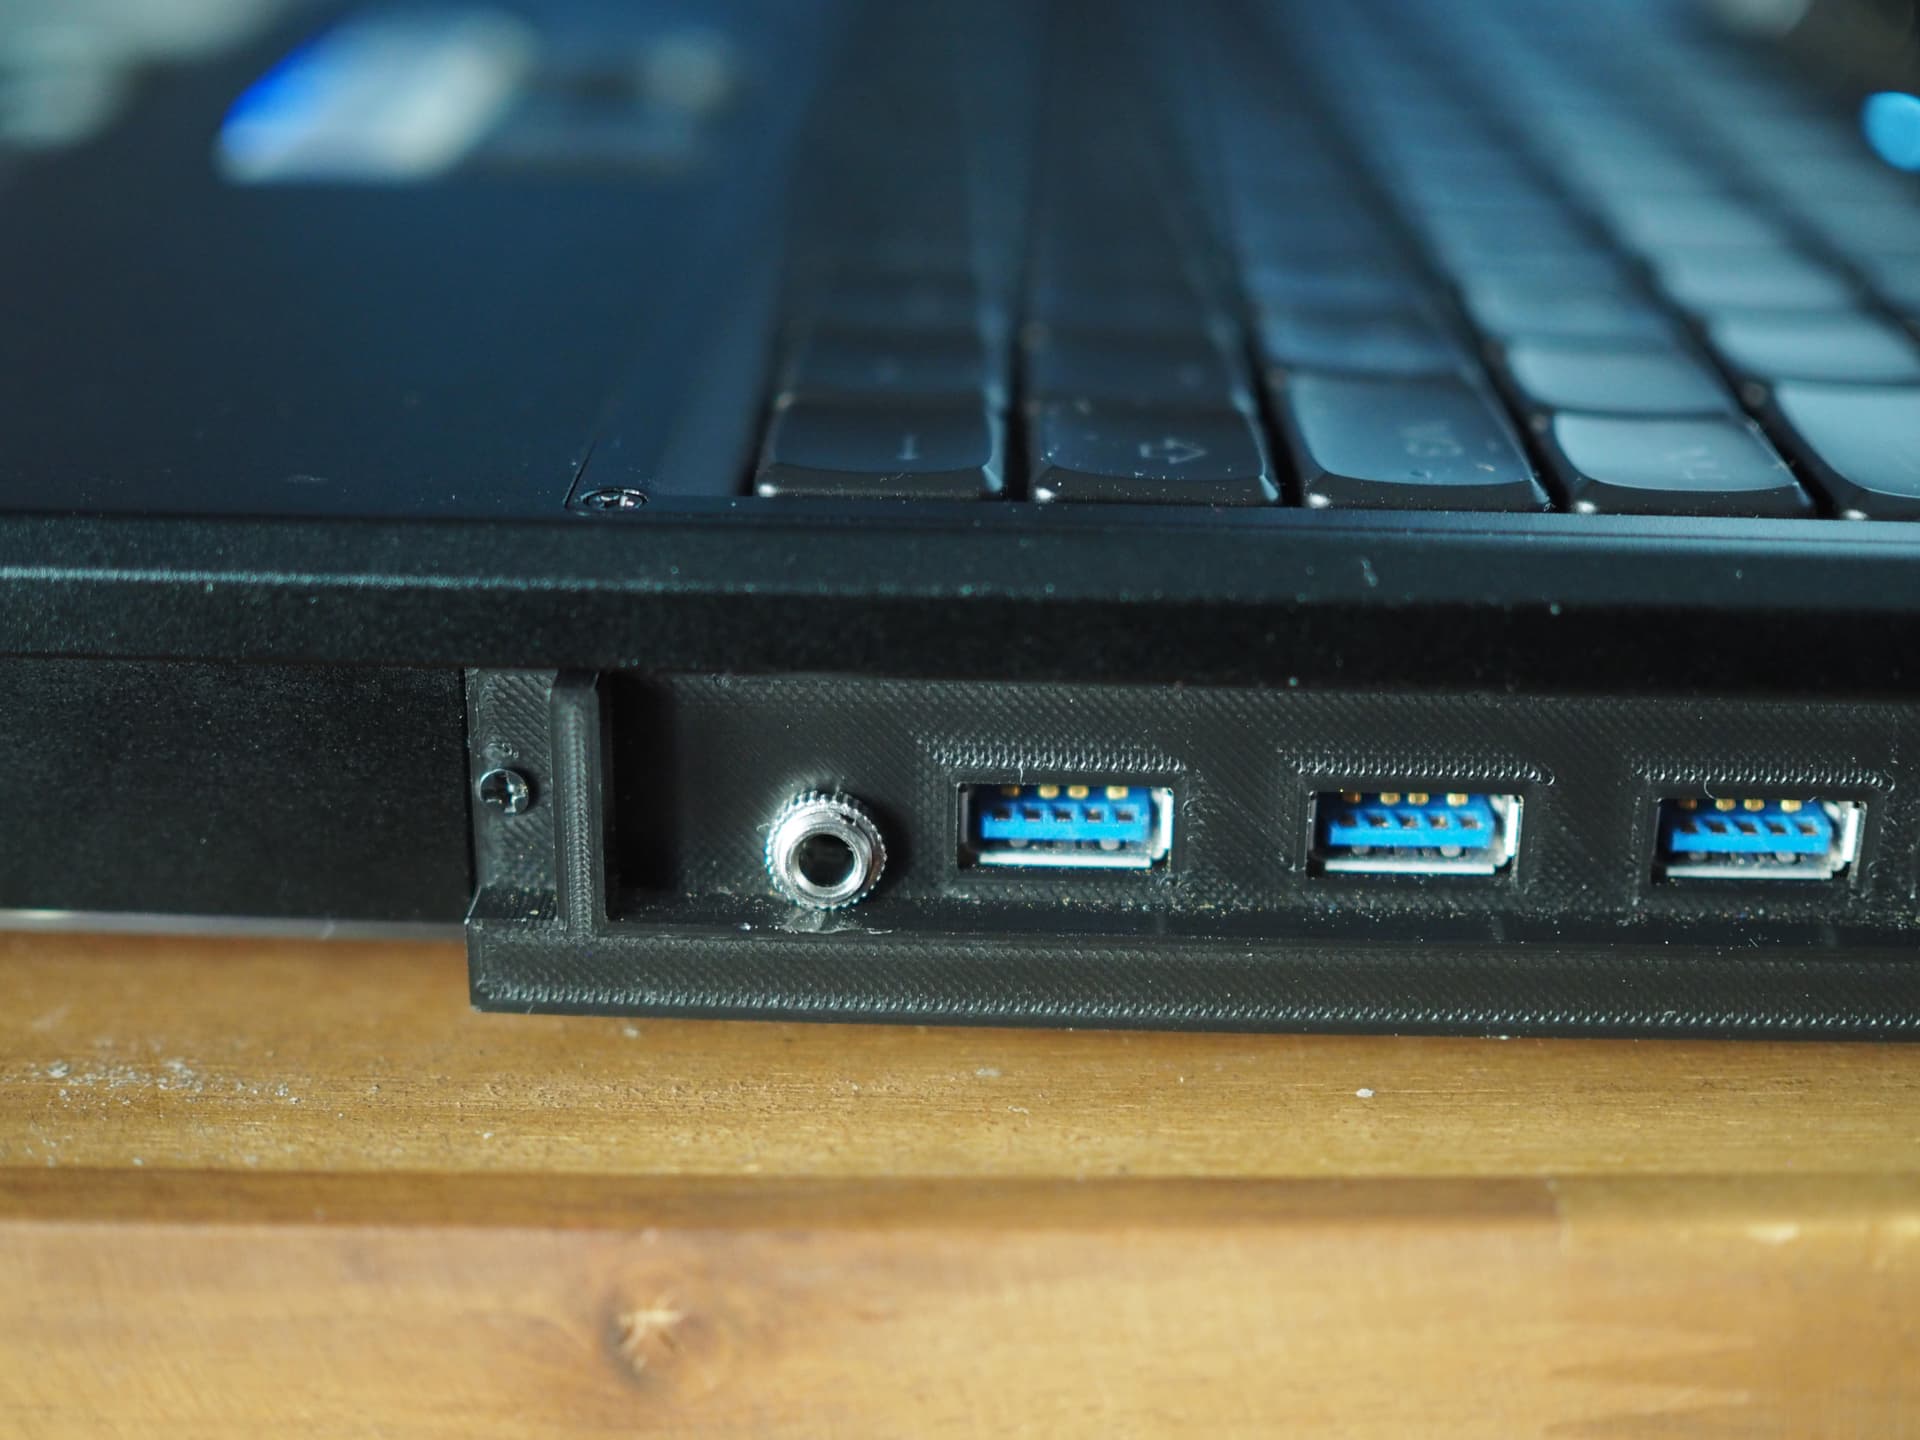
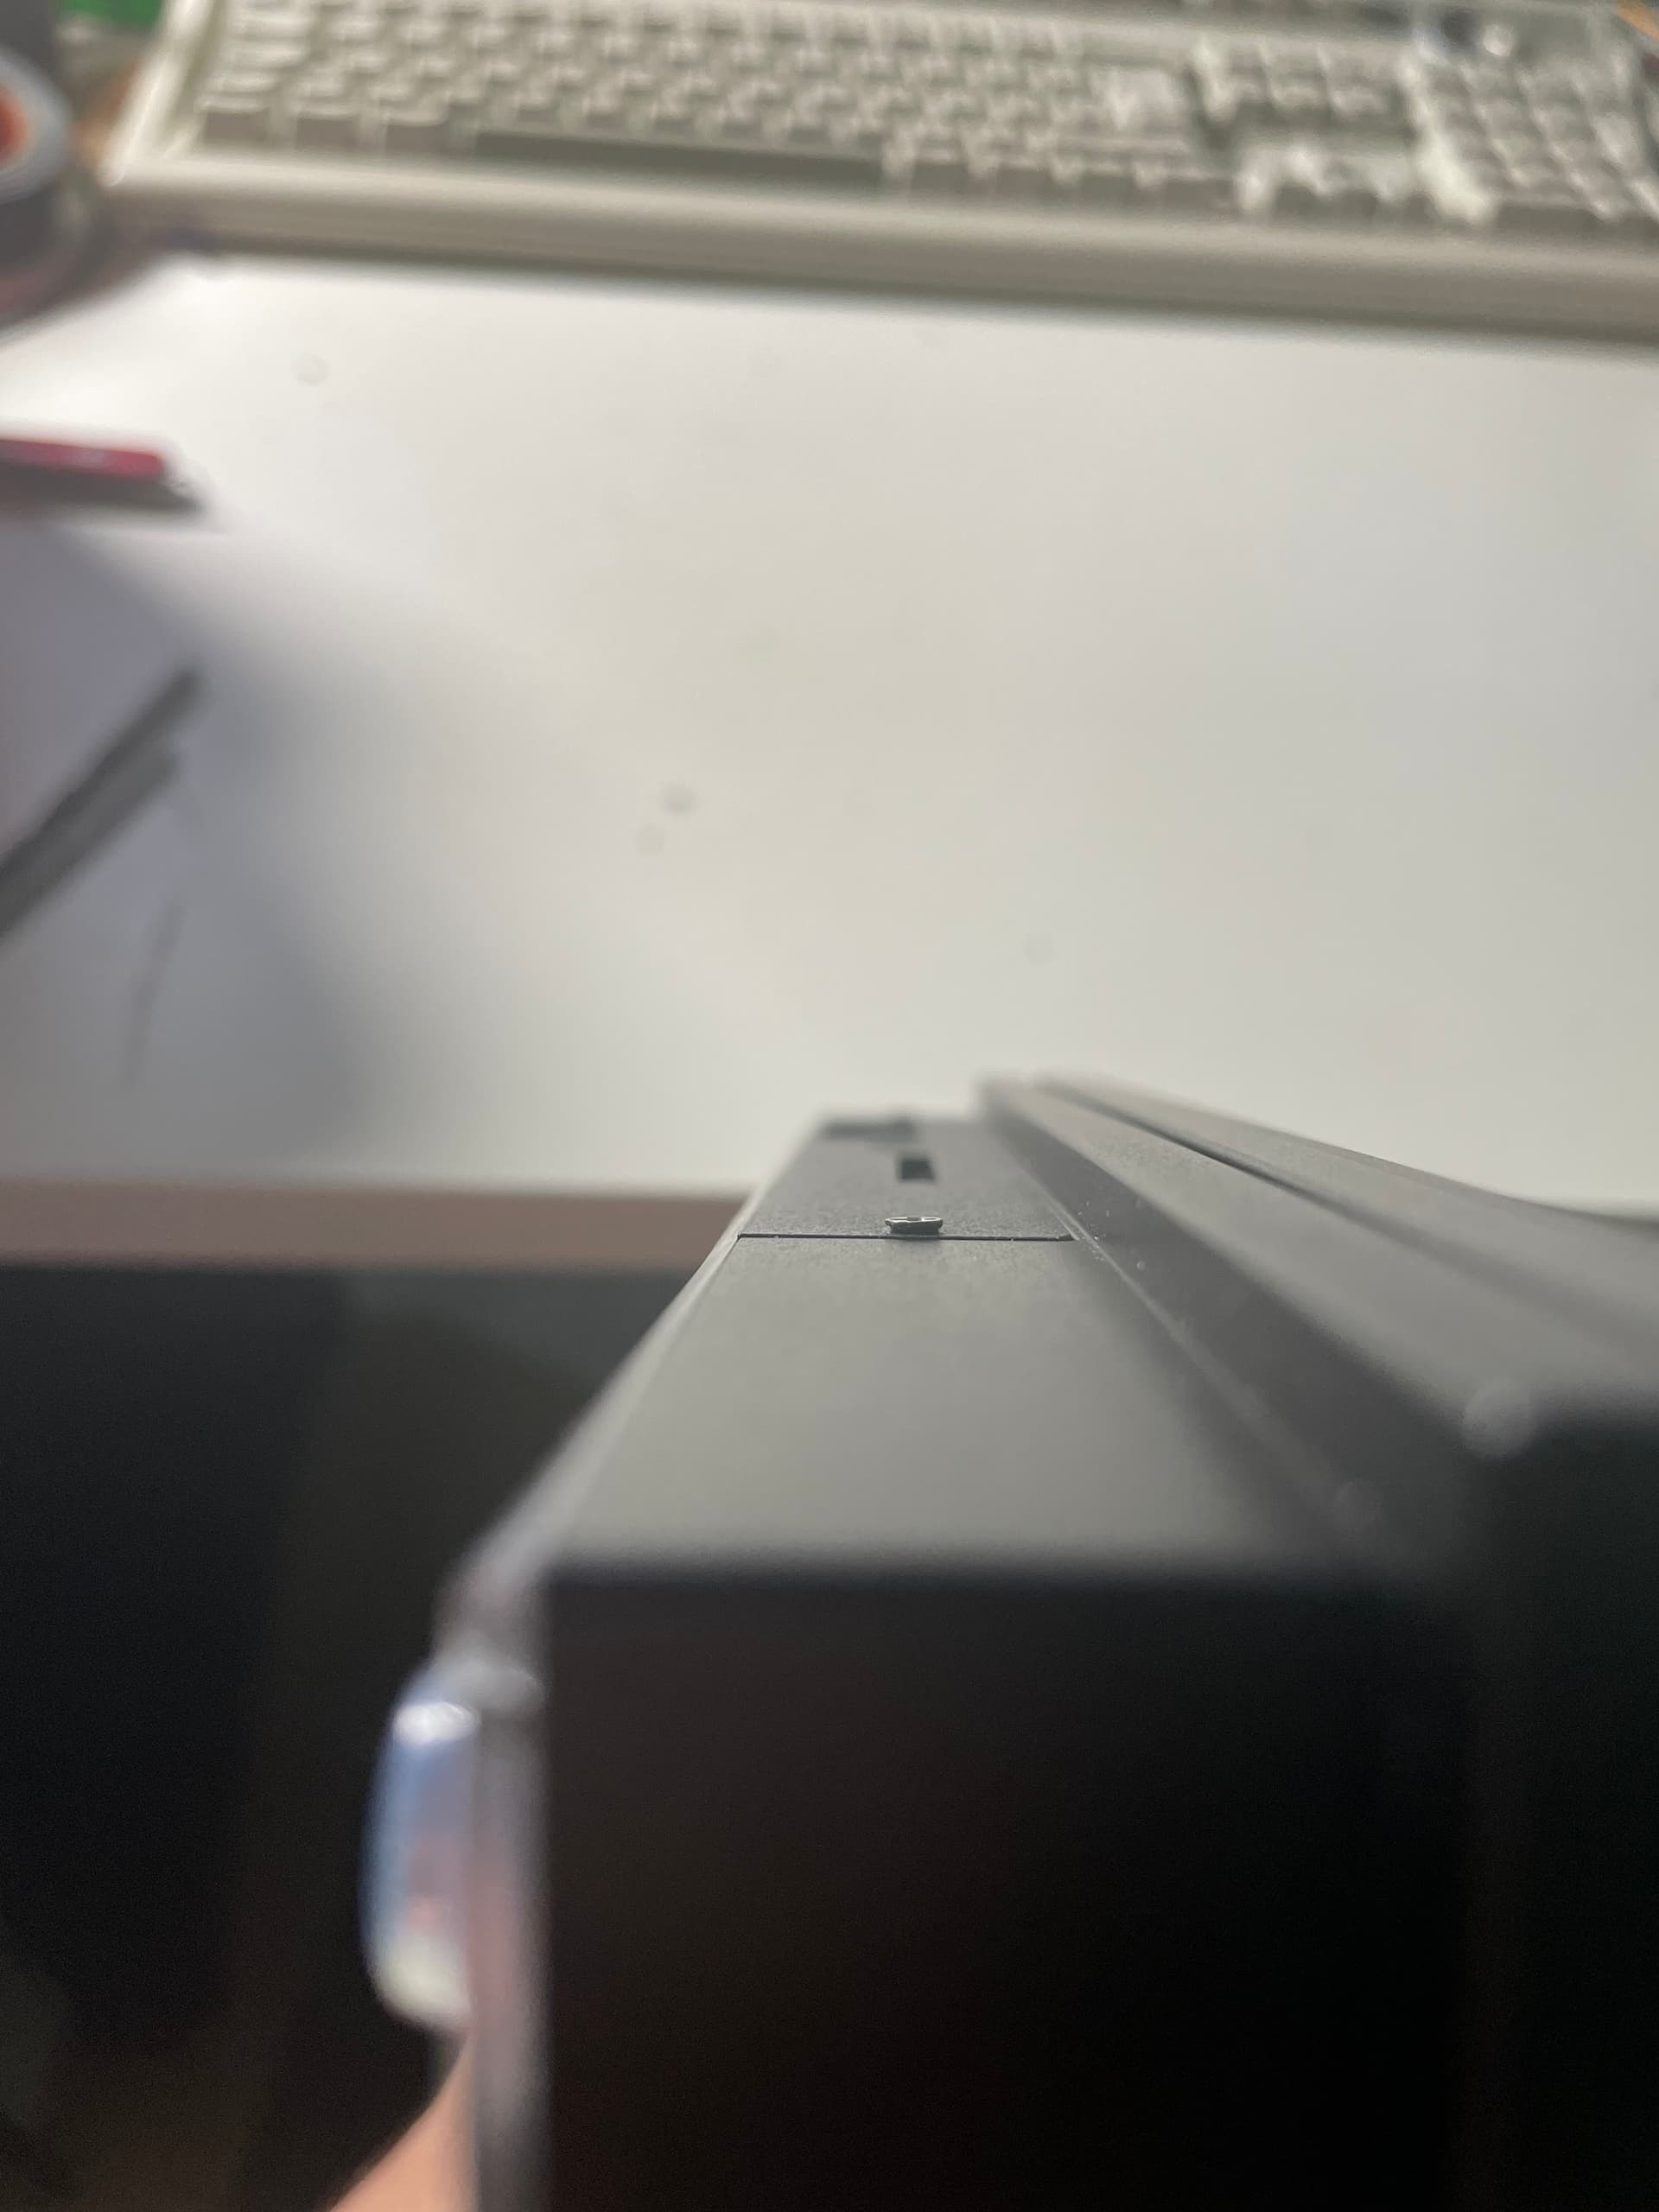
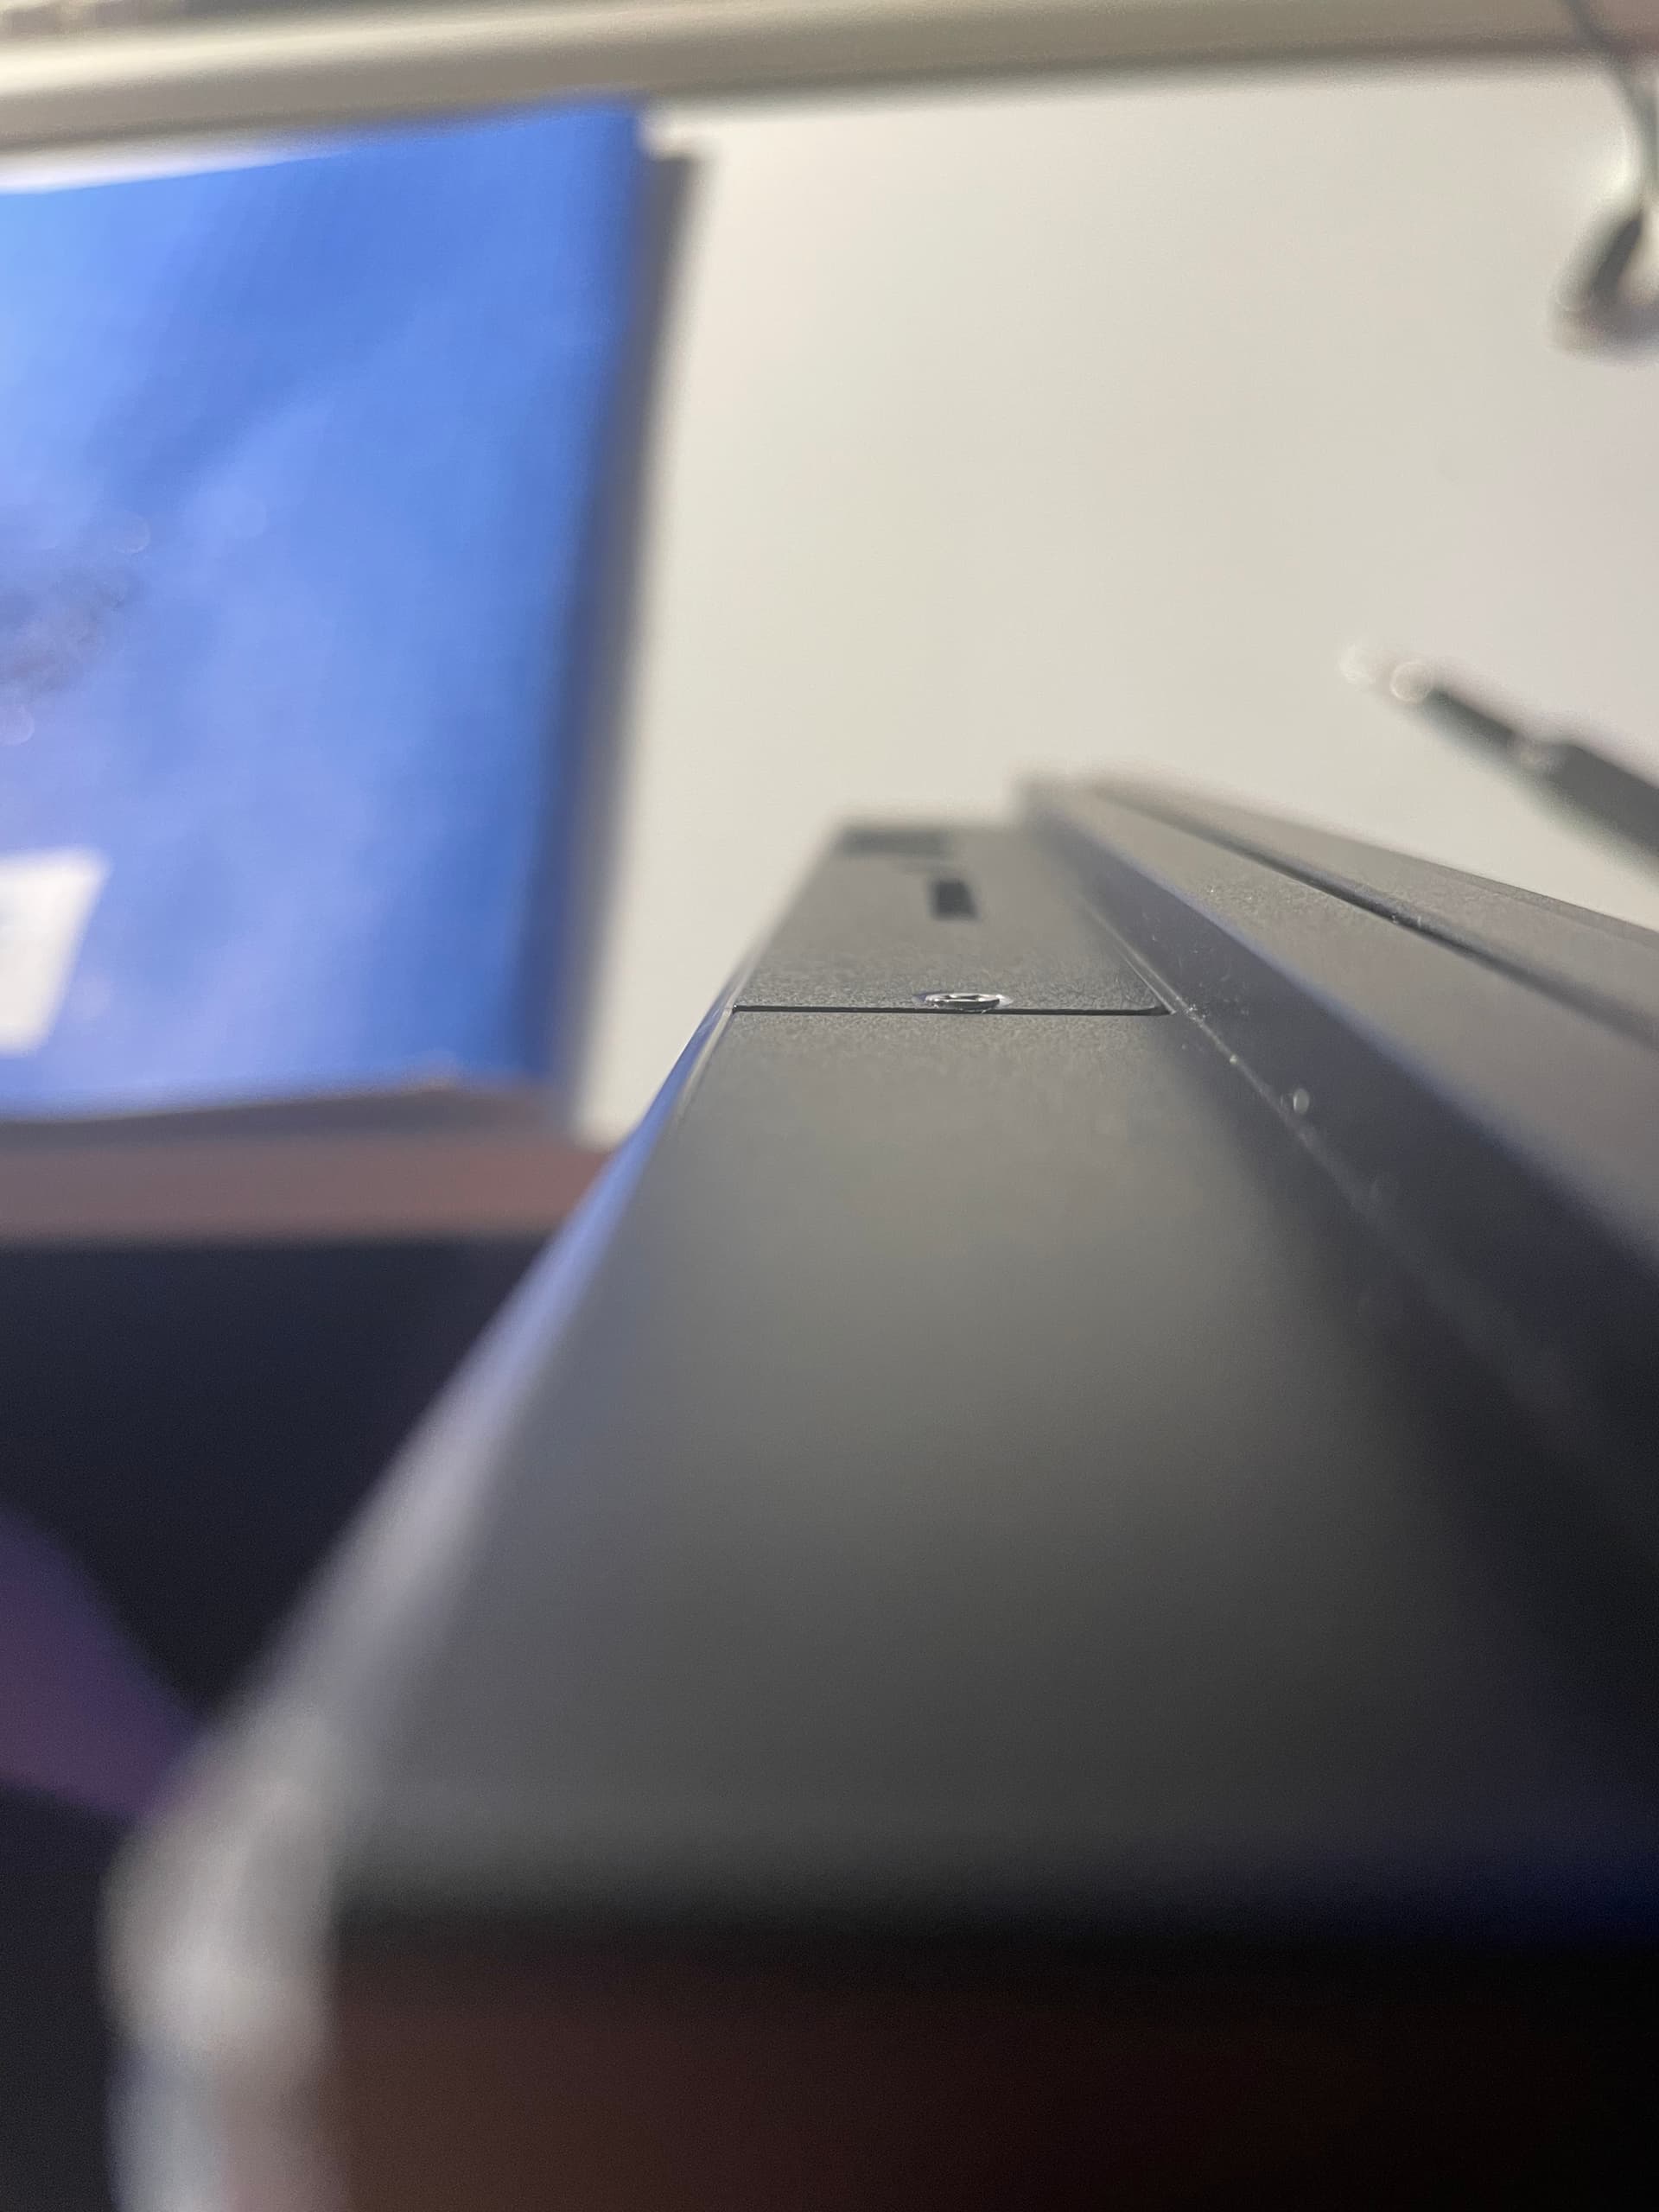
Adding the hole to my 3D printed side panel for the 3.5 mm TRS jack and soldering left and right audio to the existing TRRS jack was easy. What turned out being tricky was to solder to the ground of the existing TRRS jack which was covered by some yellow goo. Even after scraping that off, I didn’t manage to solder a better connection than one with 7 MΩ… So in the end I connected the ground to the GND pin of the Line In connector next to the TRRS jack which worked much better. ![]()
Advantages of having one headphone jack on each side:
- I can choose which one to plug my headphone in depending on where there is more space on our narrow couch or in the train
- I can now plug two headphones in at the same time which allows watching movies with another person without having to find the headphone splitter first and without waking the baby up

5 Likes